
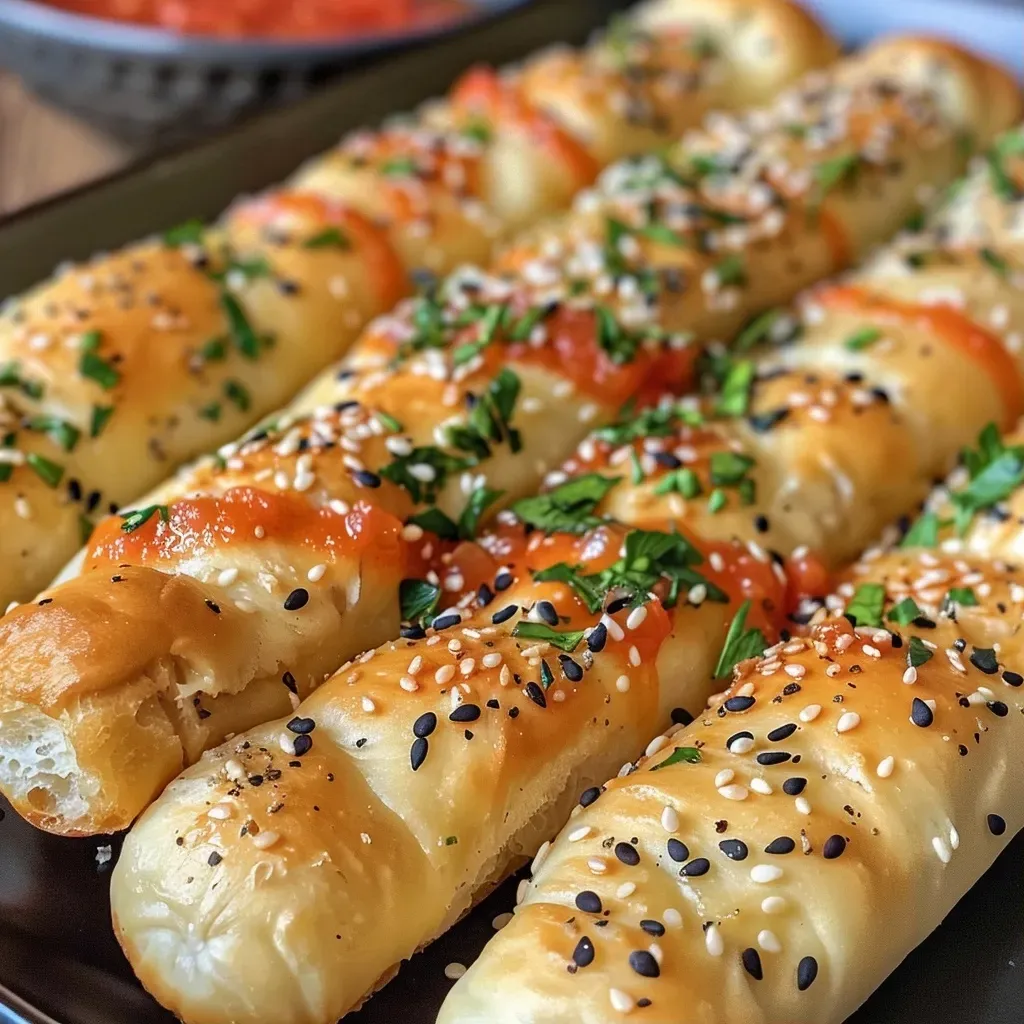
Transform Your Dinner Table with Spooktacular Witch Finger Breadsticks
Are you ready to add a dash of magic to your dinner table? With these Witch Finger Breadsticks, you can create a fun and playful dish that’s perfect for Halloween or any gathering that calls for a bit of fun. This easy recipe combines simple ingredients to make these spooky breadsticks not only visually appealing but also deliciously satisfying. Let’s dive into the world of culinary creativity and learn how to make these delightful finger-shaped treats!
Why You’ll Love This Recipe
These Witch Finger Breadsticks are not just about the looks—they are a fantastic addition to any meal or party! Here are a few reasons why you’ll love making these treats:
- Kid-Friendly Fun: Kids will adore the spooky theme, making them more excited about dinner.
- Easy to Make: With straightforward steps, you’ll find this recipe a breeze to follow, even after a long day.
- Customizable: You can adjust flavors and shapes to suit your family’s preferences.
- Perfect for Parties: These breadsticks are a hit at Halloween gatherings or themed parties, providing both a tasty snack and a conversation starter.
- Deliciously Tasty: With the blend of garlic, oregano, and a hint of sesame, these breadsticks taste really good—your friends will be asking for more!
Ingredients Needed
Gather these ingredients to make your own Witch Finger Breadsticks:

★ Recommended Kitchen Tool
Professional Chef Knife Set
Make this recipe even easier with a quality Professional Chef Knife Set — a must-have kitchen staple!
- ¼ cup warm tap water: Ensure it’s not boiling (up to 130°F or 55°C).
- 1 tablespoon granulated sugar: This helps activate the yeast and adds a touch of sweetness.
- 1 teaspoon dry yeast: The key ingredient for a fluffy texture.
- 2 ¼ cups bread flour: Provides structure and chewiness to the breadsticks.
- 1 teaspoon salt: Enhances the flavors.
- 1 tablespoon unsalted butter (melted): Adds richness to the dough.
- 1 egg (for egg wash): Gives a beautiful golden color when baked.
- ½ teaspoon garlic granules: For a savory flavor boost.
- ½ teaspoon dried oregano: Adds an aromatic touch.
- 1 teaspoon sesame seeds (black and white): For a crunchy topping.
- 16 blanched almonds: These will be the spooky fingernails!
- 2 tablespoons marinara sauce: For dipping or as an edible adhesive for the almonds.
How To Make Witch Finger Breadsticks
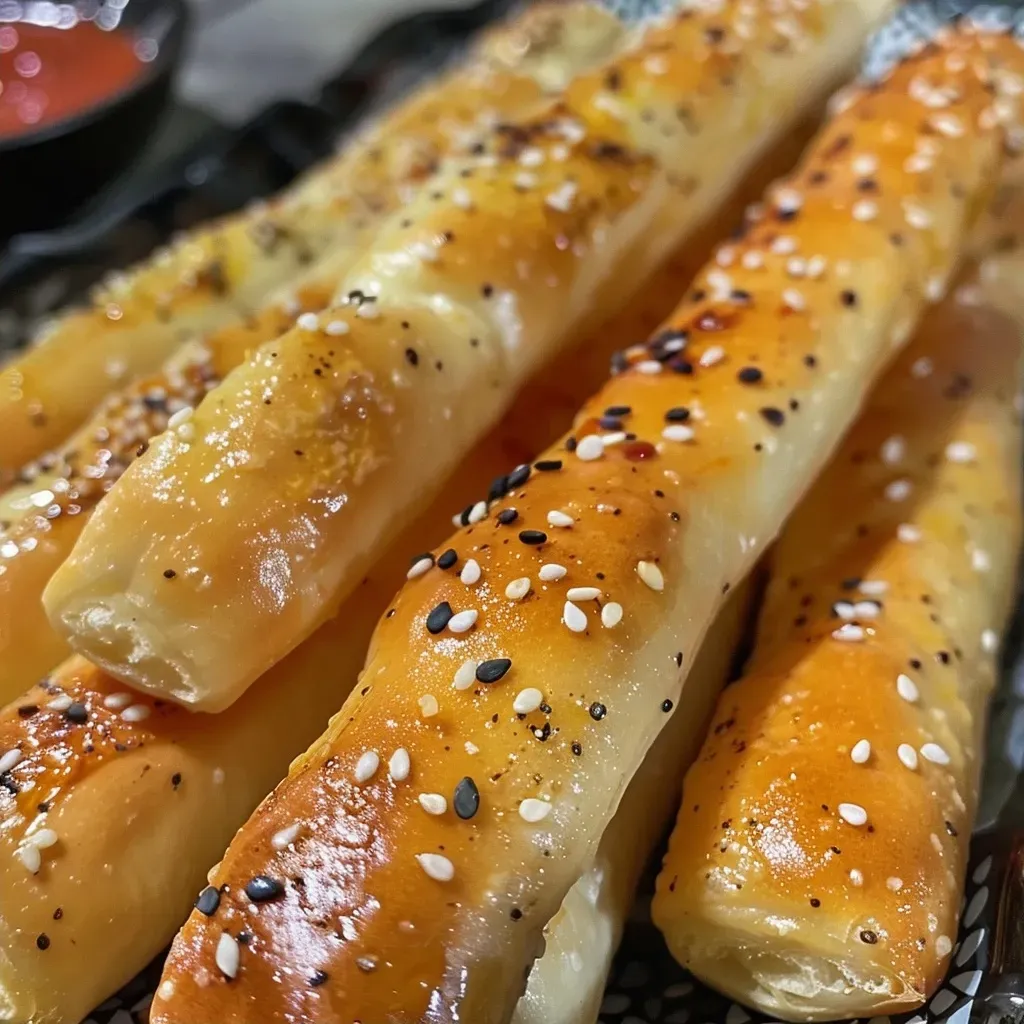
Follow these simple steps to create your Witch Finger Breadsticks:
- In a small bowl, mix the warm water with sugar and yeast. Set aside for about 10 minutes until it bubbles.
- In a large bowl, combine bread flour, melted butter, salt, and the yeast mixture. Knead on a floured surface for about 7 minutes until smooth.
- Divide the dough into 12 equal parts and roll each into a rope, shaping them into finger-like forms.
- Place each rope on a parchment-lined baking pan, cover with a towel, and let rise in a warm place for 30 minutes.
- Preheat the oven to 390°F (200°C) about 10 minutes before the rise is complete.
- Brush the breadsticks with the egg wash, sprinkle with seasonings, and press a marinara-dipped almond at the end of each stick.
- Bake for about 10 minutes until golden brown.
- Remove from the oven and enjoy warm!
Pro Tips for Perfect Witch Finger Breadsticks
To make sure your breadsticks turn out amazing, check out these expert tips:
- Temperature Matters: Ensure your water is warm but not hot to avoid killing the yeast.
- Kneading Technique: Knead until the dough is smooth; this helps develop gluten for a better texture.
- Warm Rising Spot: Find a cozy spot for the dough to rise, like near a warm oven.
- Brush Generously: Don’t skimp on the egg wash for that beautiful golden finish.
- Almond Placement: Press the almonds firmly into the dough so they stay put while baking.
- Experiment with Flavors: Feel free to add spices like paprika or cheese to the dough for extra flavor.
- Use Leftover Dough: Any leftover dough can be shaped into fun designs or mini rolls!
- Storing Leftovers: Keep any extras in an airtight container to maintain freshness.
Common Mistakes and Troubleshooting
Even seasoned cooks make mistakes! Here’s how to avoid them:
- Yeast Not Activating: If your yeast doesn’t bubble, it may be expired or the water was too hot. Always check the expiration date!
- Dough Too Sticky: If the dough feels too sticky, add a bit more flour while kneading.
- Overbaking: Keep an eye on the breadsticks in the oven; they can go from golden to burnt quickly!
Variations to Try
Want to switch things up? Here are some fun variations to make these breadsticks even more exciting:
- Cheesy Fingers: Add shredded cheese to the dough for a cheesy twist.
- Herbed Breadsticks: Mix in fresh herbs like rosemary or thyme for added flavor.
- Sweet Version: Use cinnamon sugar instead of garlic for a dessert variant.
- Stuffed Breadsticks: Fill the dough with mozzarella cheese for a gooey center!
Storage and Make-Ahead Instructions
Want to prep in advance? Here’s how to store and make these breadsticks ahead of time:
- Make Ahead: You can prepare the dough a day in advance. Just cover it tightly and refrigerate until you’re ready to shape and bake.
- Storing Leftovers: Place any uneaten breadsticks in an airtight container at room temperature for up to 3 days.
- Freezing Tips: Freeze baked breadsticks in a single layer and then transfer them to a freezer bag. Reheat in the oven when ready to enjoy!
Comprehensive FAQ
Got questions? Here are answers to some common queries:
- Can I use all-purpose flour instead of bread flour? Yes, but the texture may be slightly different.
- What can I use instead of almonds for the fingers? Try using pumpkin seeds or pecans if you prefer.
- How do I make these gluten-free? Substitute the bread flour with a gluten-free flour blend.
- What if my dough doesn’t rise? Make sure your yeast is active and your rising environment is warm.
- Can I bake these in advance? Yes! Just reheat them in the oven before serving for the best taste.
- How do I ensure they stay soft? Don’t overbake them; aim for a soft golden brown.
- What should I dip them in? Marinara, pizza sauce, or even a cheesy dip work great!
- What drinks pair well with these breadsticks? Serve with a warm apple cider or a festive punch for Halloween parties!
Nutritional Tips and Dietary Adaptations
Interested in health? Here are some tips for making these breadsticks a bit healthier:
- Whole Wheat Option: Substitute half the bread flour with whole wheat flour for added fiber.
- Low-Sodium Version: Use low-sodium salt to keep it heart-friendly.
- Vegan Adaptation: Replace the egg wash with a mixture of almond milk and a splash of maple syrup!
Essential Equipment Recommendations
Before you start, make sure you have the right tools:
- Mixing Bowls: Have a couple of sizes for mixing and rising.
- Measuring Cups and Spoons: Accurate measurements are key to baking success.
- Pastry Brush: Perfect for applying the egg wash evenly.
- Parchment Paper: Helps prevent sticking and makes for easy cleanup!
Serving Suggestions
To truly impress your guests, consider these serving ideas:
- Fun Platter: Arrange the breadsticks on a spooky platter with a side of marinara for dipping.
- Pair with Soups: These breadsticks make a great accompaniment to chili or pumpkin soup.
- Garnish with Herbs: Sprinkle fresh herbs over the top for an added touch of color and flavor.
Conclusion: Your Spooktacular Adventure Awaits!
With these simple steps, you’re ready to make your very own Witch Finger Breadsticks. Whether you’re hosting a Halloween party or just want to add a fun twist to dinner, these breadsticks will delight everyone at the table. So roll up your sleeves, gather your ingredients, and let your creativity shine in the kitchen. Remember, cooking is all about having fun, experimenting, and enjoying the process. Happy baking!
Witch Finger Breadsticks
Ingredients
Dough
- 0.25 cup warm tap water (up to 130°F (55°C))
- 1 tablespoon granulated sugar
- 1 teaspoon dry yeast
- 2.25 cups bread flour
- 1 teaspoon salt
- 1 tablespoon unsalted butter (melted)
- 1 egg egg (for egg wash)
- 0.5 teaspoon garlic granules
- 0.5 teaspoon dried oregano
- 1 teaspoon sesame seeds ((black and white))
- 16 blanched almonds almonds
- 2 tablespoons marinara (or tomato sauce or ketchup)
Instructions
- Mix water with sugar and yeast; let activate for 10 minutes.
- Combine flour, melted butter, salt, and yeast mixture; knead until smooth.
- Divide dough into 12 balls, roll into ropes, and place on a parchment-lined pan.
- Let rise in a warm place for 30 minutes.
- Brush with egg wash, sprinkle seasonings, and attach an almond dipped in marinara at each end.
- Preheat oven to 390°F (200°C) and bake for 10 minutes. Serve warm.


