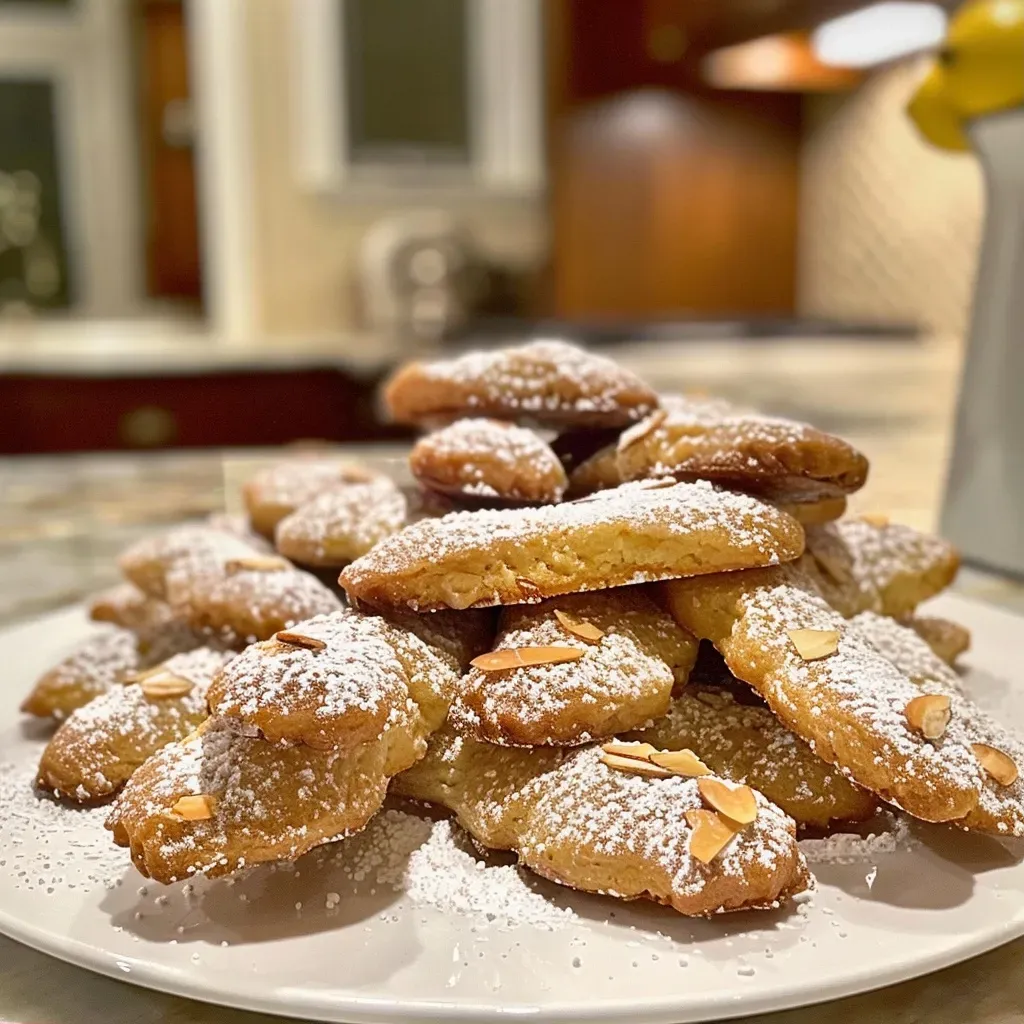
Unleash the Magic of Witch Finger Cookies This Halloween
As Halloween approaches, it’s time to conjure up some spooky delights in the kitchen! These enchanting Witch Finger Cookies are not only fun to make but also a treat that will impress your family and friends. Made with simple ingredients and crafted without food coloring, these cookies are perfect for your Halloween party. With a delightful blend of flavors and a unique appearance, they are sure to be a hit at any gathering!
Let’s dive into the recipe, exploring the reasons you’ll love these cookies, how to make them, and tips for creating the perfect batch.
Why You’ll Love This Recipe
- Unique Presentation: The eerie look of these cookies makes them a standout treat, sparking joy and laughter at any Halloween celebration.
- Simple Ingredients: With pantry staples like butter, sugar, and flour, you won’t need to hunt for exotic ingredients.
- No Food Coloring Needed: Enjoy the natural beauty of these cookies without using artificial colors. The addition of strawberry jam gives a gory touch without compromising on taste.
- Fun to Decorate: Get creative with your cookie designs by varying the knuckle shapes and almond placements, making each finger unique!
- Kid-Friendly: This recipe is perfect for cooking with kids. They will love helping shape the cookies and adding the “nails”!
Ingredient Breakdown: What You Need
Before we jump into the baking process, let’s take a closer look at the ingredients you’ll need. Understanding why each ingredient is important can help you make substitutions if necessary.

★ Recommended Kitchen Tool
Silicone Baking Cups Set
Make this recipe even easier with a quality Silicone Baking Cups Set — a must-have kitchen staple!
- 1 cup unsalted butter (softened): Provides richness and moisture. Make sure it’s at room temperature for easy mixing.
- 1 cup powdered sugar: For sweetness and a tender texture. Avoid granulated sugar here as it won’t dissolve properly.
- 1/2 cup granulated sugar: Optional but recommended for a sweeter cookie. If you prefer less sweetness, you can skip this.
- 1 large egg (50 grams, out of shell): Binds the ingredients together, adding structure to the cookies.
- 1 teaspoon almond extract: Enhances flavor and adds a nutty aroma. You can substitute with vanilla if preferred.
- 1 teaspoon vanilla extract: Adds depth to the flavor profile.
- 2 2/3 cups all-purpose flour: The base of the cookies. For a gluten-free version, substitute with almond flour or a gluten-free blend.
- 3/4 teaspoon salt: Balances out the sweetness and enhances flavor.
- 3/4 cup blanched almonds: Used as fingernails, providing a crunchy texture.
- 1/2 – 1 cup strawberry jam: For a gooey, gruesome touch! Use more for extra “blood” around the knuckles.
Step-by-Step Instructions
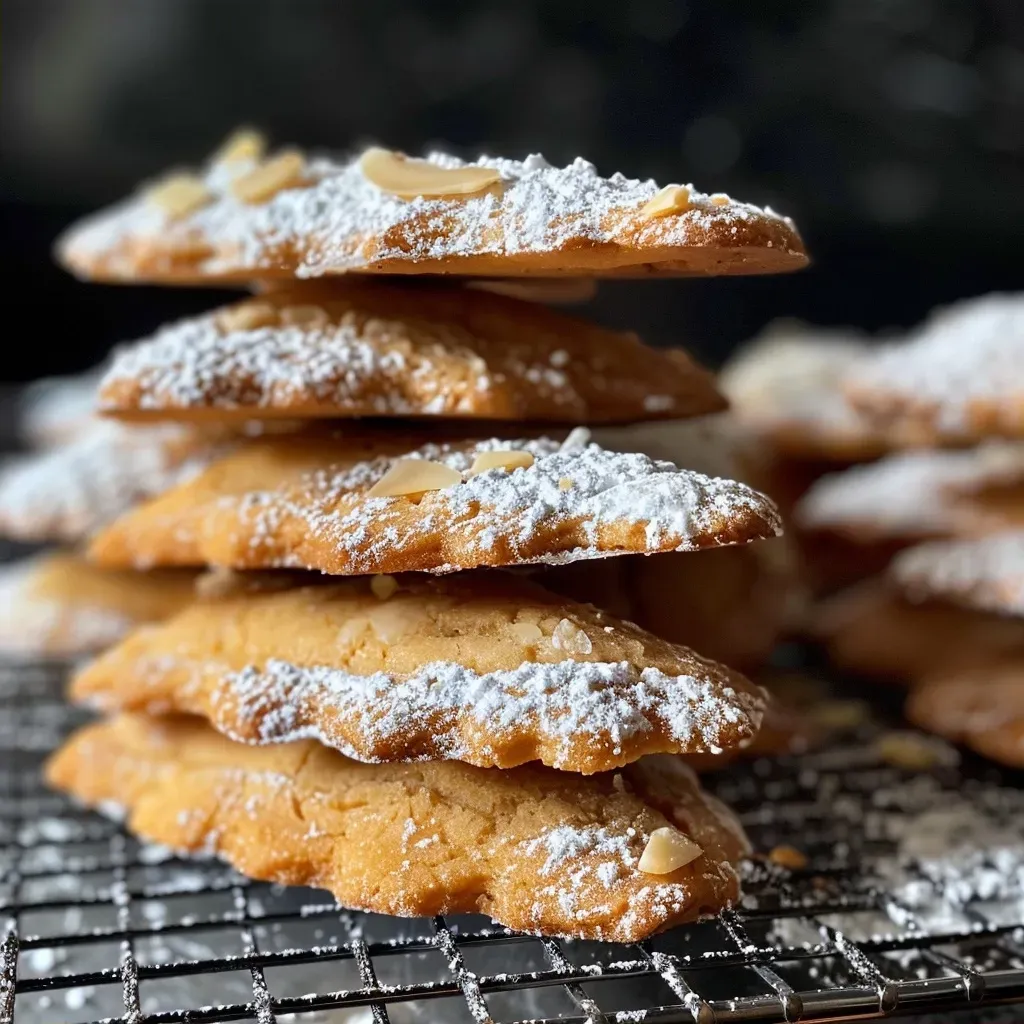
Now that you have your ingredients ready, let’s get started on making these spooky treats!
- In a large mixing bowl, beat together the softened butter and powdered sugar (add granulated sugar if using) until fluffy.
- Add the egg, almond extract, and vanilla extract, mixing until well combined.
- Gradually add the flour and salt, mixing until thoroughly combined.
- Cover the dough with plastic wrap and refrigerate for 40 minutes, or up to 2 days. Chilling helps the cookies hold their shape.
- Preheat your oven to 325°F (165°C) and line a baking sheet with parchment paper.
- Remove about a fourth of the dough from the fridge. Roll out the fingers to your desired thickness—aim for about the thickness of your pinky finger.
- Shape the fingers by squeezing around the middle to form a knuckle. Use a sharp knife to create wrinkles, varying the lengths for realism.
- Press a blanched almond at the tip of each finger for a fingernail, ensuring it’s secure.
- Place the fingers on the prepared baking sheet, leaving about an inch between each cookie.
- Bake for 17-22 minutes or until slightly golden. Keep an eye on them to prevent overbaking.
- Allow the cookies to cool on the sheet before carefully removing the almonds. Fill the cavities with strawberry jam, then reinsert the almonds, ensuring they ooze a little jam for effect!
- Refrigerate in an airtight container for up to one week.
Pro Tips for Perfect Witch Finger Cookies
- Test Bake: Always bake one test finger first to check if the shape holds. Adjust thickness if necessary.
- Chill the Dough: Don’t skip the refrigeration step—this ensures your cookies maintain their shape during baking.
- Experiment with Shapes: Use different lengths and widths for the fingers to create a more diverse platter.
- Jam Oozing: The more jam you use, the more realistic the cookies will appear. Don’t be shy!
- Customize Flavors: Feel free to swap out almond extract for other flavors like hazelnut or coconut for a unique twist.
- Watch the Baking Time: Each oven bakes differently—keep an eye on your cookies to achieve that perfect golden hue.
- Use Quality Ingredients: Quality butter and pure extracts will significantly enhance the flavor of your cookies.
- Get Creative: Consider adding food-safe decorations like edible eyes or sprinkles for an even spookier effect!
Common Mistakes and Troubleshooting
Even the best home cooks stumble sometimes! Here are some common pitfalls and how to avoid them:
- Dough Too Sticky: If your dough is sticky, add a little extra flour, but be cautious not to overdo it.
- Overbaking: Keep a close watch during the last few minutes of baking; cookies can go from perfect to burnt in a flash.
- Fingers Spread Too Much: Ensure your dough is well-chilled before baking to prevent spreading.
- Almonds Falling Off: Make sure to press the almonds firmly into the dough and add enough jam to hold them in place.
Variations to Try
Mix things up with these fun variations of Witch Finger Cookies:
- Chocolate Witch Fingers: Incorporate cocoa powder into the dough for a chocolatey twist.
- Nut-Free Version: Skip the almonds and use mini chocolate chips at the tips for a different look.
- Spooky Sprinkles: Add Halloween-themed sprinkles on top of the jam for extra flair.
- Gluten-Free Option: Substitute all-purpose flour with almond flour or a gluten-free flour blend for those with dietary restrictions.
Storage and Make-Ahead Instructions
These cookies can be made ahead of time, making them a convenient choice for busy bakers. Here’s how to store and prepare in advance:
- Storing: Keep cookies in an airtight container in the refrigerator for up to one week. You can also freeze them for up to three months.
- Make-Ahead: Prepare the dough ahead of time and refrigerate it. You can bake the cookies fresh just before your Halloween party!
- Freezing: Shape the cookies and freeze them on a baking sheet. Once firm, transfer to a zip-lock bag for easy baking later.
Frequently Asked Questions
- Can I use a different type of nut for the fingernails? Yes, you can use pecans or hazelnuts if you prefer.
- How do I make gluten-free Witch Finger Cookies? Simply replace all-purpose flour with a gluten-free flour blend or almond flour.
- Can I use a different flavor extract? Absolutely! Vanilla or hazelnut extracts can give a unique flavor twist.
- What if my dough is too crumbly? If your dough is crumbly, add a teaspoon of milk at a time until it comes together.
- How can I make these cookies more festive? Consider adding edible glitter or sprinkles for a whimsical touch!
- How should I store leftover cookies? Store them in an airtight container in the refrigerator for up to a week.
- Can I make these in advance? Yes! You can prepare the dough ahead of time and bake them fresh before serving.
- What’s the best way to serve these cookies? Serve them on a spooky platter with other Halloween treats for a festive display.
Nutritional Tips & Dietary Adaptations
These cookies can be adjusted to fit various dietary needs:
- Low-Sugar Option: Reduce the amount of granulated sugar or use a sugar substitute.
- Dairy-Free Version: Substitute butter with a dairy-free alternative like coconut oil or vegan butter.
- Nut-Free Recipe: Simply omit the almonds or replace them with chocolate chips.
Equipment Recommendations
Having the right tools can make your baking experience smoother. Here are some essentials:
- Mixing Bowls: A set of mixing bowls in various sizes is essential for combining ingredients.
- Silicone Spatula: Perfect for scraping down the sides of your mixing bowl and ensuring all ingredients are well incorporated.
- Parchment Paper: Line your baking sheet for easy removal of cookies and to prevent sticking.
- Cookie Sheet: A sturdy baking sheet ensures even baking. Consider using one with a non-stick surface.
Serving Suggestions
These cookies are not just about taste; they are a visual feast! Here’s how to present them:
- Spooky Platter: Arrange the cookies on a dark-themed platter with some Halloween decorations.
- Pair with Drinks: Serve alongside a spooky punch or hot apple cider for a festive treat.
- Party Favors: Package cookies in clear bags tied with Halloween ribbons for guests to take home.
Conclusion: Embrace the Fun of Baking
There you have it! A comprehensive guide to making enchanting Witch Finger Cookies that will elevate your Halloween festivities. With clear steps and helpful tips, you can create a spooky treat that will leave everyone impressed. Remember, cooking is about confidence and creativity—so have fun with this recipe, and don’t hesitate to make it your own. Happy baking, and enjoy your Halloween!
Witch Finger Cookies (without food coloring!)
Ingredients
Dough
- 1 cup unsalted butter (softened)
- 1 cup powdered sugar
- 1/2 cup granulated sugar (highly recommended for sweetness)
- 1 large egg (50 grams, out of shell)
- 1 teaspoon almond extract
- 1 teaspoon vanilla extract
- 2 2/3 cups all-purpose flour (see notes for gluten-free version)
- 3/4 teaspoon salt
- 3/4 cup blanched almonds
- 1/2 - 1 cup strawberry jam (for filling and decorating)
Instructions
- Beat butter and powdered sugar (and granulated sugar if using) until fluffy. Add egg, almond, and vanilla extracts and mix.
- Add flour and salt, mix thoroughly, then refrigerate covered for 40 minutes.
- Preheat oven to 325°F (165°C). Roll dough into finger shapes, add almonds for nails, and create knuckles with wrinkles.
- Place on baking sheet, bake for 17-22 minutes until slightly golden. Cool, remove almonds, fill with jam, and reattach almonds.
- Decorate with jam around knuckles and in cavities. Refrigerate in an airtight container for up to 1 week.