
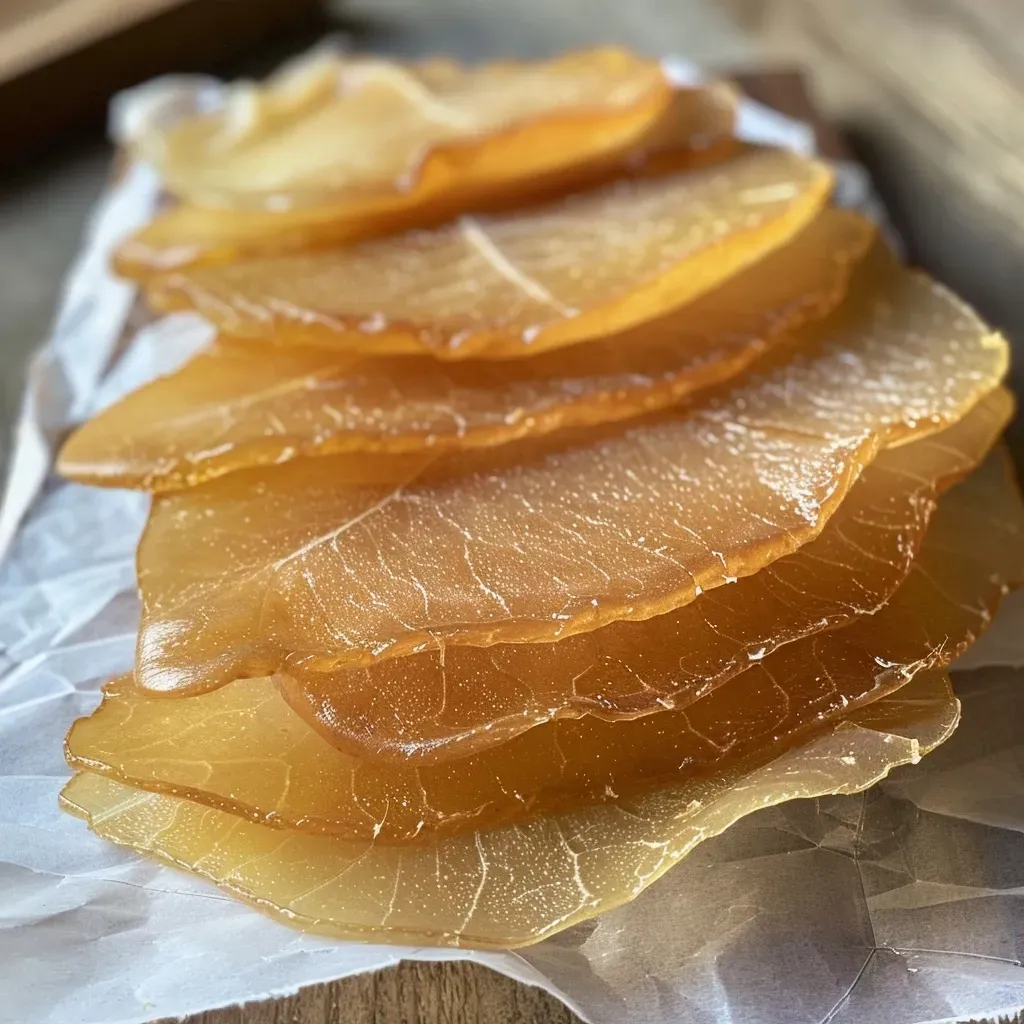
Discover the Joy of Making Pear Fruit Leathers
Are you ready to embark on a delightful culinary adventure? Making your own pear fruit leathers is not only a fun kitchen project, but it also allows you to create a healthy, tasty snack that you and your family will love. In this guide, we’ll explore how to make pear fruit leathers with just three simple ingredients, ensuring you feel confident and excited about your cooking journey. Whether you’re looking for a sweet treat for lunchboxes or a nutritious snack for on-the-go, this recipe is perfect for everyone!
Why You’ll Love This Recipe
- Simple ingredients: With only three ingredients—pears, sugar, and lemon juice—you can whip up this snack in no time.
- Healthy and delicious: Made from fresh fruit, these pear fruit leathers are a nutritious alternative to store-bought snacks filled with preservatives.
- Customizable sweetness: You can adjust the sugar according to your taste and the natural sweetness of the pears you use.
- Perfect for meal prep: Make a batch on the weekend and enjoy them throughout the week, making snack time a breeze.
- A fun kitchen project: Involve your kids in the process for a fun family activity that teaches them about cooking and healthy eating.
Ingredient Breakdown
To create the best pear fruit leathers, let’s dive into the ingredients you’ll need and a few helpful substitutions.
- Pears: Aim for ripe pears for the sweetest flavor. You can use any variety you like, but Bartlett or Bosc pears work exceptionally well.
- Sugar: We suggest starting with 3 tablespoons, but feel free to adjust it based on the sweetness of your pears. You can substitute with honey or maple syrup if you prefer a natural sweetener.
- Lemon juice: This brightens the flavor and helps preserve the color of your fruit leathers. Fresh lemon juice is ideal, but bottled works in a pinch.
How to Make Pear Fruit Leathers
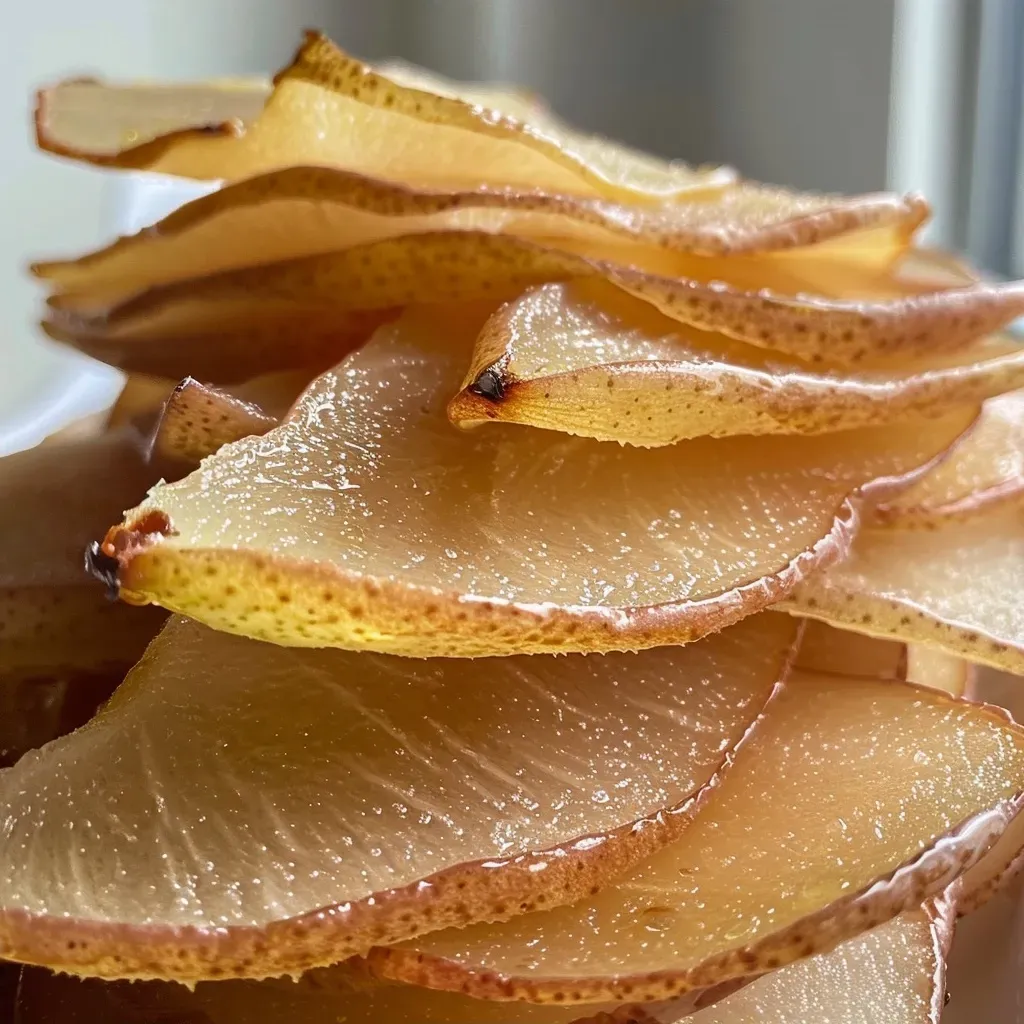
Ready to dive into the cooking process? Follow these simple steps to create your pear fruit leathers.

★ Recommended Kitchen Tool
Cake Decorating Set
Make this recipe even easier with a quality Cake Decorating Set — a must-have kitchen staple!
Step-by-Step Instructions
- Peel the pears and cut them into 1-inch chunks. Transfer them to a pot along with the sugar and lemon juice. Simmer over medium heat for about 10 minutes until the pears soften and release their juices.
- Carefully transfer the cooked pears into a blender or food processor and blend until completely smooth. Taste and adjust the sweetness by adding more sugar if needed.
- Spread the puree onto a lined baking sheet or solid dehydrator tray. Here’s a pro tip: spread the puree thicker at the edges than in the center. This helps ensure uniform drying.
- To dry in the oven: Preheat your oven to the lowest setting, usually around 170°F (77°C). Place the baking sheet in the oven, propping the door open with a wooden spoon to allow moisture to escape. Alternatively, to dry in a dehydrator, set it to 135°F (57°C).
- Dehydrate for several hours until the fruit leather is no longer tacky and can be peeled off in one piece; this usually takes about 3 hours in the oven or 4.5 to 5 hours in a dehydrator.
- Once dried, transfer the fruit leather to a piece of parchment paper and roll it up. Use scissors to cut it into snack-sized pieces for easy enjoyment.
- Store in an airtight container or zip-top bag for up to a few weeks or until you’re ready to indulge!
Pro Tips for Perfect Pear Fruit Leathers
- Choose ripe fruit: The riper your pears, the sweeter and more flavorful your fruit leathers will be.
- Blend thoroughly: Make sure your puree is completely smooth for a consistent texture.
- Monitor drying time: Keep an eye on your fruit leather as it dries to avoid over-drying, which can make it tough.
- Experiment with flavors: Add spices like cinnamon or nutmeg for a unique twist on the classic recipe.
- Use a silicone mat: If you have one, a silicone baking mat can make removing the dried fruit leather easier.
- Cut before storing: Cutting the leather into pieces before storage makes it convenient to grab a quick snack!
- Cool completely: Allow the fruit leather to cool completely before storing to prevent moisture buildup.
- Test for doneness: The leather is ready when it feels dry to the touch and doesn’t stick to your fingers.
Common Mistakes and Troubleshooting
Even the best cooks can encounter a few bumps along the way. Here’s how to troubleshoot common issues:
- Fruit leather is too sticky: This usually means it needs more drying time. Return it to the oven or dehydrator until it is less tacky.
- Uneven drying: If parts of your fruit leather are drying faster, it may be due to uneven spreading. Ensure a consistent thickness for the best results.
- Flavor is too bland: If your fruit leather tastes flat, consider adding a pinch of salt or more lemon juice for brightness.
Variations to Try
Get creative in the kitchen and experiment with these delicious variations:
- Add berries: Mix in some blended berries like strawberries or raspberries for a fruity combination.
- Spice it up: Incorporate spices such as ginger, cinnamon, or cardamom for added warmth and flavor.
- Use different fruits: Try using apples or peaches instead of pears for a different taste experience.
- Nuts and seeds: For added texture and nutrition, sprinkle in some finely chopped nuts or seeds before drying.
Storage and Make-Ahead Instructions
Store your pear fruit leathers in an airtight container or zip-top bag at room temperature for up to two weeks. For longer storage, consider vacuum sealing them or placing them in the fridge for up to a month. You can also freeze them for up to six months. If you decide to make a batch ahead of time, simply ensure they are completely cool before sealing them for storage.
Comprehensive FAQ
- How long does homemade fruit leather last? Properly stored, it can last up to two weeks at room temperature or a month in the refrigerator.
- Can I make fruit leather without sugar? Yes, you can omit or reduce sugar, especially if your pears are very sweet.
- What if I don’t have a dehydrator? You can easily make fruit leather in your oven. Just ensure the temperature is low enough to dry without cooking the fruit.
- Is fruit leather healthy? Yes! When made from whole fruits without preservatives, it’s a nutritious snack option.
- Can I use frozen pears? Absolutely! Just thaw and drain excess moisture before cooking.
- What other fruits can I use? You can use nearly any fruit, including apples, peaches, and even mixed berry blends!
- Do I need to peel the pears? Peeling is optional; leaving the skin on can add fiber and nutrients to your leathers.
- How can I tell when my fruit leather is done? It should be pliable and dry to the touch, without stickiness.
Nutrition Tips and Dietary Adaptations
This pear fruit leather recipe is naturally gluten-free and can easily be made vegan by substituting sugar with maple syrup or another suitable sweetener. For additional nutritional benefits, consider adding a scoop of chia seeds or flaxseeds to the puree for added fiber and omega-3 fatty acids.
Equipment Recommendations
To successfully make your pear fruit leathers, you’ll need:
- Blender or food processor: For creating a smooth puree.
- Baking sheet or dehydrator trays: To spread the fruit puree for drying.
- Parchment paper or silicone mat: Essential for easy removal of the dried fruit leather.
- Oven or dehydrator: Either appliance works well for drying the fruit leather.
Serving Suggestions
Enjoy your pear fruit leathers on their own as a quick snack or pair them with cheese for a delightful appetizer. They also make a great addition to lunchboxes, hiking trips, or any outing where you need a healthy boost of energy!
Conclusion
Making your own pear fruit leathers is a rewarding experience that brings the joy of cooking into your home. With just three ingredients, you can create a healthy snack that satisfies both your sweet tooth and your desire for wholesome foods. So gather your ingredients, follow these straightforward steps, and enjoy the delightful taste of homemade fruit leather. Happy cooking!
Pear Fruit Leathers
Ingredients
Fruits
- 1 pound pears (about 3 pears)
- 3 tablespoons sugar
- 1 tablespoon lemon juice
Instructions
- Peel and chop the pears, then simmer with sugar and lemon juice for 10 minutes until soft.
- Blend the cooked pears until smooth, tasting and adding more sugar if needed.
- Spread the puree evenly on a lined baking sheet or dehydrator tray, with edges slightly thicker.
- Dry in the oven at the lowest temperature with the door slightly open, or in a dehydrator at 135°F for about 3-5 hours until tacky.
- Peel the leather off the sheet, roll it up, and cut into snack-sized pieces.