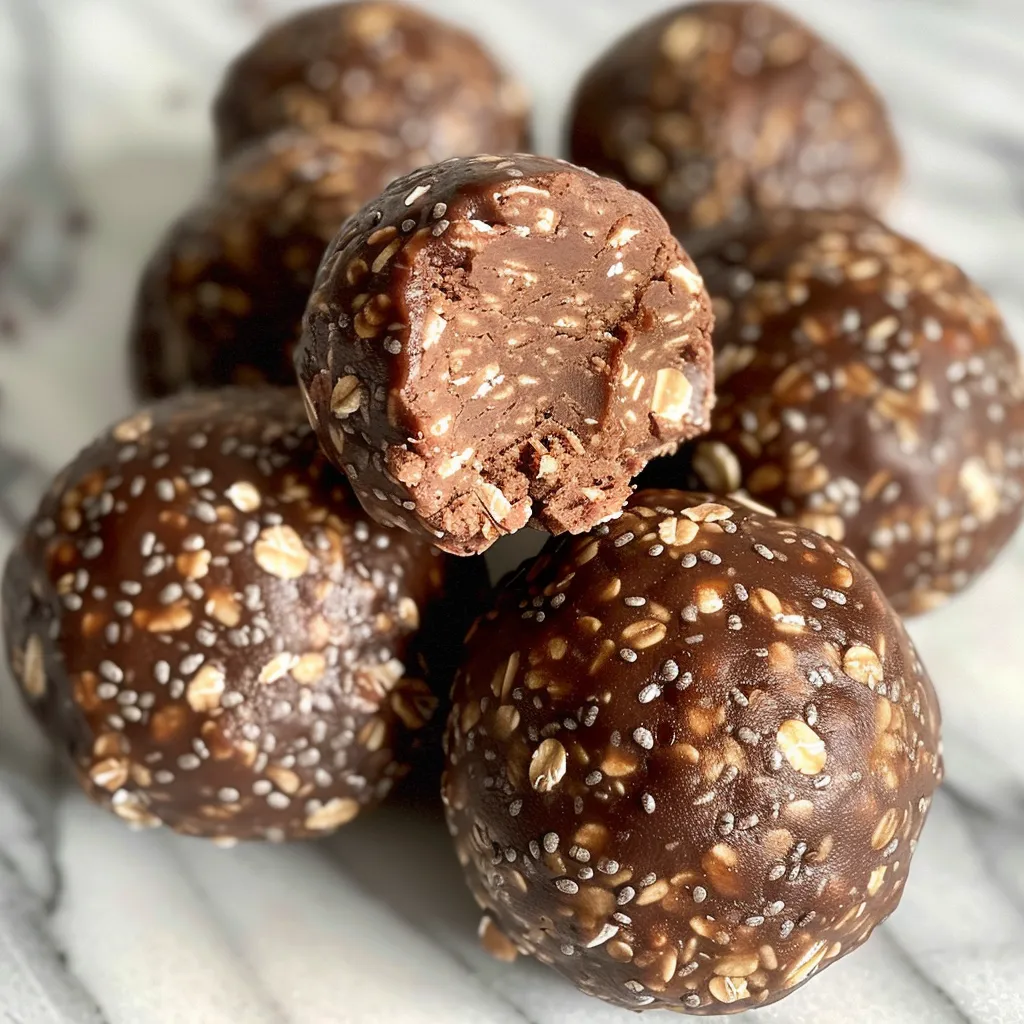
Unleash Your Inner Chef with Energizing Chocolate Protein Bliss Balls
Welcome to a delicious adventure in your kitchen! Today, we’re diving into the world of Chocolate Protein Bliss Balls—these delightful, no-bake energy bites are not only easy to make but are also packed with nutrients. Perfect for a quick snack or a post-workout treat, these bliss balls will keep your energy levels high and your cravings satisfied. Let’s explore how to make these scrumptious bites, and I’ll share tips and variations that will make this recipe your new go-to!
Why You’ll Love This Recipe
These Chocolate Protein Bliss Balls are more than just a snack—they’re a game changer! Here are some reasons you’ll absolutely adore them:
- Quick and Easy: They require minimal prep time and no baking, making them perfect for busy days!
- Nutritious Boost: Packed with protein from peanut butter and protein powder, they’ll keep you feeling full and energized.
- Customizable Flavors: With endless ingredient variations, you can personalize these bliss balls to suit your taste.
- Guilt-Free Indulgence: Enjoy the rich chocolate flavor without the guilt—these bites are naturally sweetened with maple syrup.
- Meal Prep Friendly: Make a batch ahead of time, store them in the refrigerator, and have a quick snack ready whenever you need it!
Essential Ingredient Guide
Before we start cooking, let’s break down the ingredients you’ll need to create these bliss balls:
- Rolled Oats (1 ½ cups): Provides a hearty base. You can use gluten-free oats if needed.
- Chocolate Protein Powder (½ cup): Choose your favorite brand! This is key for the protein content.
- Unsweetened Cocoa Powder (¼ cup): Adds a rich chocolate flavor without sugar.
- Chia Seeds (2 tablespoons): A fantastic source of omega-3 fatty acids. Feel free to substitute with flaxseeds.
- Sea Salt (¼ teaspoon): Enhances the sweetness and balances the flavors.
- Creamy Natural Peanut Butter (½ cup): This is what binds everything together—opt for a brand with no added sugars or oils.
- Pure Maple Syrup (⅓ cup): Serves as a natural sweetener; honey can be used as an alternative.
- Vanilla Extract (1 teaspoon): A splash of vanilla adds warmth and depth.
- Water (2-3 tablespoons): Adjust as needed to get the right consistency.
- Optional Add-ins: Additional cocoa powder or shredded coconut for rolling.
Complete Cooking Process
Ready to whip up these delicious bites? Follow these simple steps:
- In a medium bowl, whisk together the rolled oats, chocolate protein powder, cocoa powder, chia seeds, and sea salt until well combined.
- Add the peanut butter, maple syrup, and vanilla extract. Mix with a spatula or your hands until a thick dough forms.
- If the mixture seems too dry, add water one tablespoon at a time until it holds together when squeezed.
- Cover the bowl and let the mixture rest for about 10 minutes. This allows the oats to soften slightly.
- Using a small cookie scoop or tablespoon, portion the mixture and roll into 1-inch balls between your palms.
- If desired, roll the balls in additional cocoa powder or shredded coconut for added flavor and texture.
- Place on a parchment-lined baking sheet and refrigerate for at least 1 hour before serving.
Pro Tips for Perfect Bliss Balls
To ensure your bliss balls turn out perfectly every time, here are some expert tips:
- Mixing Technique: For a more uniform texture, use a food processor to combine the dry ingredients before adding the wet ones.
- Consistency Check: The mixture should be moldable and hold its shape. If it’s too crumbly, a little more peanut butter or water can help!
- Experiment with Proteins: Try different protein powders, like plant-based options, for varied flavors and nutrition profiles.
- Chill Time: Allowing the energy bites to chill in the refrigerator for at least an hour helps them firm up nicely.
- Batch Size: Make a double batch and store some in the freezer for quick snacks later.
- Flavor Boost: Add spices like cinnamon or nutmeg for an extra layer of flavor.
- Nut Alternatives: If you’re allergic to peanuts, swap out the peanut butter for almond or sunflower seed butter.
- Coating Options: Get creative with coatings—try crushed nuts, seeds, or even sprinkles for a fun twist!
Common Mistakes and Troubleshooting
Even the best cooks can run into hiccups. Here’s how to avoid common pitfalls:
- Too Dry: If the mixture is too crumbly, gradually add a bit more water or peanut butter until it sticks together.
- Too Sticky: If your hands are getting too sticky while rolling, lightly coat them with a bit of coconut oil.
- Flavor Lacking: If you find the flavor isn’t rich enough, add a pinch more salt or a splash of vanilla extract.
Variations to Try
Why stick to one flavor when you can have many? Here are some fun variations to consider:
- Nut-Free Bliss Balls: Replace peanut butter with sunflower seed butter for a nut-free version.
- Chocolate Chip Delight: Fold in some dark chocolate chips for a sweet surprise!
- Fruit and Nut: Add dried cranberries or raisins for a chewy texture and fruity flavor.
- Spicy Kick: Incorporate a dash of cayenne or chili powder for a surprising heat!
Storage and Make-Ahead Instructions
These bliss balls are perfect for meal prep! Here’s how to store them:
- Refrigerator: Store in an airtight container in the refrigerator for up to 2 weeks.
- Freezer: You can also freeze them for up to 3 months. Just thaw in the refrigerator before enjoying.
- Make-Ahead: Feel free to prepare them a few days before you plan to serve them!
Frequently Asked Questions
Let’s tackle some common questions about these energy bites:
- Can I use almond butter instead of peanut butter? Absolutely! Almond butter or any nut/seed butter works perfectly.
- How long do they stay fresh? In the refrigerator, they can last up to 2 weeks; in the freezer, up to 3 months.
- Can I use a plant-based protein powder? Yes, feel free to use your favorite plant-based protein powder!
- What if my mixture is too crumbly? Just add a bit of water or peanut butter until it holds together.
- Can I add other ingredients? Of course! Get creative with mix-ins like nuts, seeds, or dried fruits.
- Are these gluten-free? Yes, as long as you use certified gluten-free oats.
- How do I know when they’re done? They should be firm and able to hold their shape after chilling.
- Can I roll them in something? Yes! Rolling them in cocoa powder or shredded coconut adds a nice touch.
Nutritional Tips and Dietary Adaptations
Whether you’re looking to boost your nutrition or cater to dietary restrictions, here’s how to adapt this recipe:
- Protein Boost: For an extra protein kick, add a tablespoon of hemp seeds or more protein powder.
- Lower Sugar: Reduce the amount of maple syrup or substitute with a low-calorie sweetener like stevia.
- Vegan Option: Ensure your protein powder and maple syrup are vegan, and you’re good to go!
Equipment Recommendations
To whip up these bliss balls, you’ll need:
- Mixing Bowl: For blending the ingredients.
- Measuring Cups and Spoons: For accurate ingredient amounts.
- Spatula: Great for mixing and scraping down the sides.
- Cookie Scoop: Perfect for portioning out the mixture.
- Parchment Paper: Use it to line your baking sheet for easy removal.
Serving Suggestions
These bliss balls are versatile and can be enjoyed in various ways:
- On-the-Go Snack: Perfect for a quick energy boost during the day.
- Post-Workout Treat: Replenish your energy levels after a workout.
- Kids’ Lunchbox Treat: A healthy alternative to sugary snacks for children.
- Sweet Tooth Satisfaction: Enjoy them as a guilt-free dessert option!
Conclusion
Now that you have all the tools to create these Energizing Chocolate Protein Bliss Balls, it’s time to get cooking! Remember, cooking is all about creativity and fun. Don’t hesitate to experiment with flavors and make this recipe your own. Enjoy the process, and most importantly, savor each blissful bite. Happy cooking!
Chocolate Protein Bliss Balls - Healthy Energy Bites
Ingredients
Dry ingredients
- 1.5 cups rolled oats
- 0.5 cup chocolate protein powder
- 0.25 cup unsweetened cocoa powder
- 2 tablespoons chia seeds
- 0.25 teaspoon sea salt
Wet ingredients
- 0.5 cup creamy natural peanut butter
- 0.33 cup pure maple syrup
- 1 teaspoon vanilla extract
- 2-3 tablespoons water (as needed)
- 2 tablespoons additional cocoa powder (optional)
- 2 tablespoons shredded coconut (optional)
Instructions
- Mix oats, protein powder, cocoa powder, chia seeds, and salt until combined.
- Add peanut butter, maple syrup, and vanilla; mix until a thick dough forms. Add water if too dry.
- Rest the mixture for 10 minutes to soften the oats.
- Portion and roll into 1-inch balls. Optional: coat in cocoa powder or shredded coconut.
- Place on a parchment-lined sheet and refrigerate for at least 1 hour before serving.