

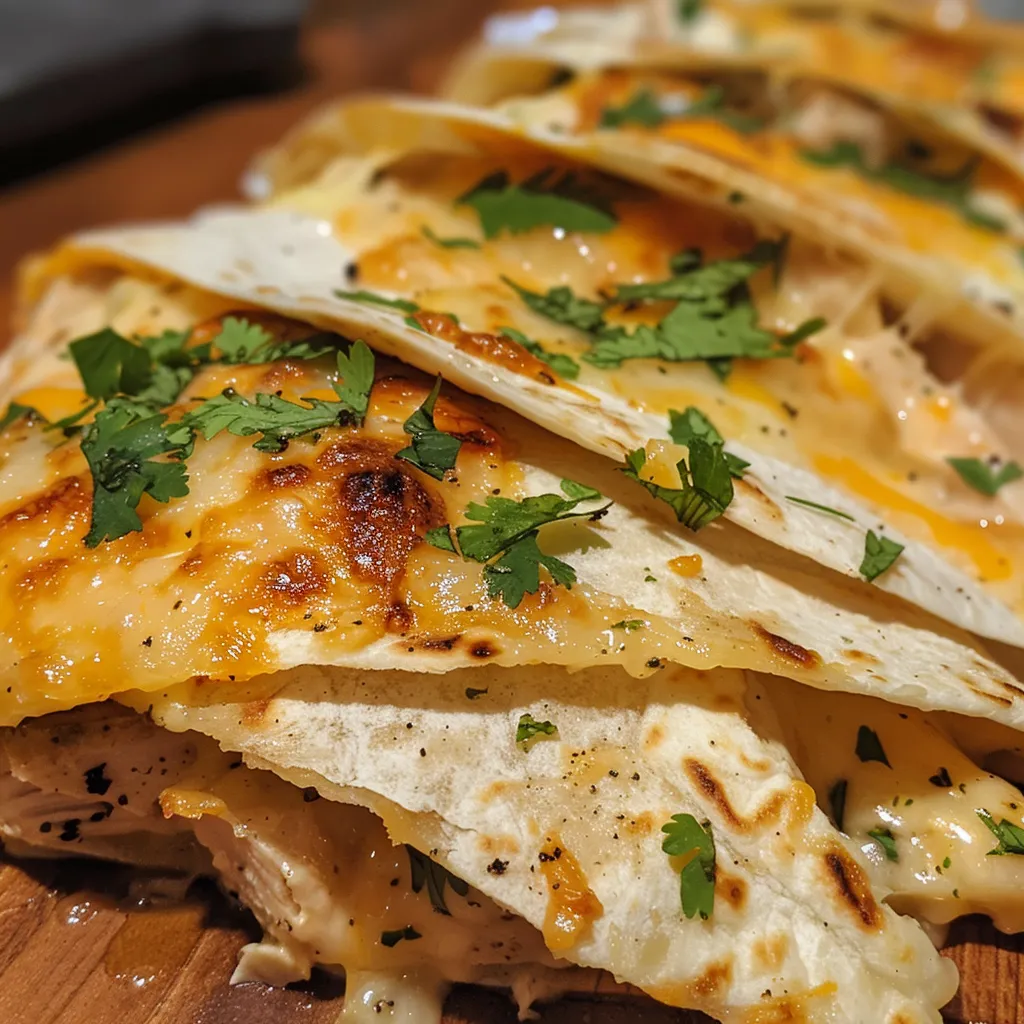
Unlock the Secrets to Flavorful Cheesy Garlic Chicken Wraps
Welcome to your next culinary adventure! If you’re looking for a quick, delicious meal that doesn’t skimp on flavor, you’ve landed in the right place. These Cheesy Garlic Chicken Wraps are not only easy to whip up, but they also bring a burst of flavor that will make any weeknight feel special. In this guide, we’ll explore everything from choosing the right ingredients to expert tips for perfecting your wraps. So, let’s roll up our sleeves and get cooking!
Why You’ll Love This Recipe
These wraps are a fantastic meal solution for busy weeknights or lazy weekends. Here are five reasons why you’ll enjoy making them:
- Quick Prep Time: Ready in under 30 minutes, making them a perfect option for those hectic evenings.
- Customizable: You can easily swap out ingredients based on your taste preferences or what you have on hand.
- Flavor-Packed: The combination of garlic, cheese, and spices elevates the dish into something truly special.
- Perfect for Meal Prep: Make them ahead of time and store in the fridge or freezer for easy reheating.
- Kid-Friendly: The cheesy goodness is sure to be a hit with the little ones (and grown-ups too!).
Essential Ingredients
Let’s break down the ingredients you’ll need to create these cheesy delights, along with some nifty substitutions:
- Chicken: Use 2 large breasts or 4 thighs. Thighs tend to be juicier, which can enhance the flavor.
- Tortillas: Opt for 10-inch flour tortillas for easy rolling; they provide the perfect balance of softness and structure.
- Cheese: A blend of low-moisture mozzarella and sharp cheddar creates that gooey, melty texture.
- Garlic: 3-4 cloves, minced, for that aromatic punch.
- Butter and Olive Oil: A combination adds richness and helps achieve a golden crust.
- Spices: Don’t forget salt, pepper, smoked paprika, and onion powder for seasoning.
- Fresh Herbs: Parsley or chives can brighten up the dish.
- Optional Add-Ins: Consider adding yogurt or mayo, spinach, pickled jalapeños, or roasted red peppers for extra flavor.
Step-by-Step: How to Make Cheesy Garlic Chicken Wraps
Now that you have your ingredients ready, let’s dive into the cooking process. Follow these simple steps:
- Season the Chicken: Coat your chicken pieces with salt, pepper, smoked paprika, and onion powder. Toss with olive oil and let it marinate for about 10 minutes.
- Cook the Chicken: In a hot skillet, cook the chicken until browned and fully cooked through. Allow it to rest for 5 minutes before slicing it into bite-sized pieces.
- Prepare the Garlic Butter: In the same pan, lower the heat and add a knob of butter along with the minced garlic. Stir for 30-60 seconds until fragrant.
- Combine Chicken and Garlic: Add the sliced chicken back into the pan, coating it well with the garlicky butter. Sprinkle in your fresh herbs and adjust the seasoning if needed.
- Warm the Tortillas: Heat each tortilla for 10-15 seconds in the microwave. This helps them bend without cracking.
- Assemble Your Wrap: Spread a thin layer of optional mayo or yogurt on the tortilla. Add cheese, followed by the garlicky chicken and any additional toppings you prefer.
- Roll It Up: Fold the sides in and roll tightly from the bottom up to secure the filling.
- Cook the Wrap: Place the wrap seam-side down in a non-stick pan over medium heat. Cook for 2-3 minutes per side until golden and melty.
Pro Tips for Perfect Wraps
To take your wraps to the next level, consider these expert insights:
- Keep It Warm: If you’re making multiple wraps, keep them warm in the oven on a low setting.
- Cheese Strategy: Use a mix of cheeses for a more complex flavor profile.
- Don’t Overfill: Less is more! Overfilling can lead to messy wraps.
- Seam-Side Down: Start cooking your wrap seam-side down to prevent it from unrolling.
- Experiment with Sauces: Try different sauces for dipping, like spicy mayo or ranch, to amp up the flavor.
- Use an Air Fryer: For a healthier alternative, consider using an air fryer to achieve that crispy texture.
- Customize Your Fillings: Get creative with additional vegetables or proteins to make it your own.
- Master the Heat: Keep the heat at medium to prevent burning while ensuring everything is cooked through.
Common Mistakes and Troubleshooting
Even seasoned cooks can run into hiccups, so here are some common pitfalls to avoid:
- Burnt Garlic: If garlic burns, it can turn bitter. Keep an eye on the pan and reduce the heat if necessary.
- Too Much Filling: Overstuffing can lead to leaks and a messy wrap. Stick to a manageable amount!
- Dry Chicken: Make sure to not overcook the chicken; use a meat thermometer to check for doneness (165°F).
- Cold Tortillas: If the tortillas aren’t warmed, they can crack when rolling. Always warm them before assembling.
Flavor Variations to Try
Want to mix things up? Here are some delicious variations you can try:
- Buffalo Chicken Wrap: Swap out the spices for buffalo sauce and add blue cheese crumbles.
- Veggie Delight: Replace chicken with sautéed vegetables like bell peppers, zucchini, and mushrooms.
- BBQ Chicken Wrap: Toss the chicken in your favorite BBQ sauce before assembling.
- Tex-Mex Twist: Add black beans, corn, and a sprinkle of taco seasoning for a south-of-the-border flair.
Storage and Make-Ahead Instructions
If you want to prepare these wraps in advance, here’s how you can store them:
- Refrigerate: Store assembled wraps in an airtight container in the fridge for up to 3 days.
- Freeze: Wrap individually in foil, then place in a freezer bag. They can be frozen for up to 2 months.
- Reheating: To reheat, place frozen wraps in the oven at 350°F for 20-25 minutes or until heated through.
Frequently Asked Questions
Got questions? We’ve got answers! Here are some common queries regarding cheesy garlic chicken wraps:
- Can I use other meats? Yes! Feel free to substitute with turkey, pork, or even tofu for a vegetarian option.
- What if I don’t have tortillas? You can use pita bread, lettuce wraps, or even crêpes!
- How can I make these gluten-free? Use gluten-free tortillas or lettuce for wrapping.
- Can I make these wraps in advance? Absolutely! They’re great for meal prep. Just store them correctly.
- What sides pair well with these wraps? Consider serving with a fresh salad, sweet potato fries, or a light soup.
- How do I know when the chicken is done? Use a meat thermometer; it should reach 165°F for safe consumption.
- What if I have leftover filling? Use it in salads, omelets, or as a topping for baked potatoes.
- Can I use a different type of cheese? Yes! Feel free to experiment with your favorite cheeses.
Nutritional Tips and Dietary Adaptations
Want to tailor this recipe to fit your dietary needs? Here are some tips:
- Lower Calorie Option: Use Greek yogurt instead of mayo for a lighter spread.
- Increase Fiber: Add more veggies and consider whole grain tortillas for added nutrients.
- Dairy-Free: Swap out cheese for a dairy-free alternative or nutritional yeast.
- Paleo-Friendly: Use lettuce wraps instead of tortillas and opt for minimal processed ingredients.
Equipment Recommendations
To make these wraps, you’ll want to have a few key pieces of equipment on hand:
- Non-Stick Skillet: Essential for cooking your wraps without them sticking.
- Sharp Knife: For slicing chicken and chopping herbs.
- Meat Thermometer: To ensure your chicken is cooked to the perfect temperature.
- Spatula: For flipping your wraps during cooking.
Serving Suggestions
Finally, here are a few ideas for how to serve your cheesy garlic chicken wraps:
- Garnish: Top with fresh herbs or a squeeze of lemon for an extra zing.
- Dipping Sauce: Serve with ranch, salsa, or your favorite hot sauce.
- Accompaniments: Pair with a side salad or crunchy veggie sticks for a complete meal.
Now that you have all the tools you need, it’s time to roll up your sleeves and get cooking! Remember, cooking is about enjoying the process and having fun. So, gather your ingredients, invite a friend or family member to join, and enjoy the delicious Cheesy Garlic Chicken Wraps that you’ve created together. Happy cooking!
Cheesy Garlic Chicken Wraps
Ingredients
Protein
- 2 large chicken breasts
- 10 inch flour tortillas
Cheese
- Low-moisture mozzarella cheese mozzarella cheese
- Sharp cheddar cheese cheddar cheese
Garlic
- 3 4 cloves cloves garlic, minced
Fats & Oils
- Butter butter
- Olive oil olive oil
Seasonings & Herbs
- Salt salt
- Pepper pepper
- Smoked paprika smoked paprika
- Onion powder onion powder
Fresh herbs
- Parsley or chives fresh herbs (parsley or chives)
Extras (optional)
- Yogurt or mayo yogurt or mayonnaise (optional)
- Spinach or arugula greens (spinach or arugula) (optional)
- Pickled jalapeños pickled jalapeños (optional)
- Roasted red peppers roasted red peppers (optional)
Instructions
- Season chicken with salt, pepper, smoked paprika, and onion powder; toss with olive oil and let sit 10 minutes.
- Cook chicken in a hot skillet with oil until browned and cooked through; rest 5 minutes, then slice into bite-sized pieces.
- In the same pan, lower heat, add butter and minced garlic; stir 30-60 seconds until fragrant.
- Add chicken back to pan, coat with garlic butter, sprinkle herbs, and adjust salt to taste.
- Warm tortillas briefly, spread optional mayo or yogurt, add cheese, chicken, extras, top with more cheese, fold, and roll tightly.
- Cook wraps in a nonstick pan over medium heat 2-3 minutes per side until golden and melty, or use oven/air fryer as preferred.

