Unleash the Fun: Your Guide to Spooktacular Halloween Slime
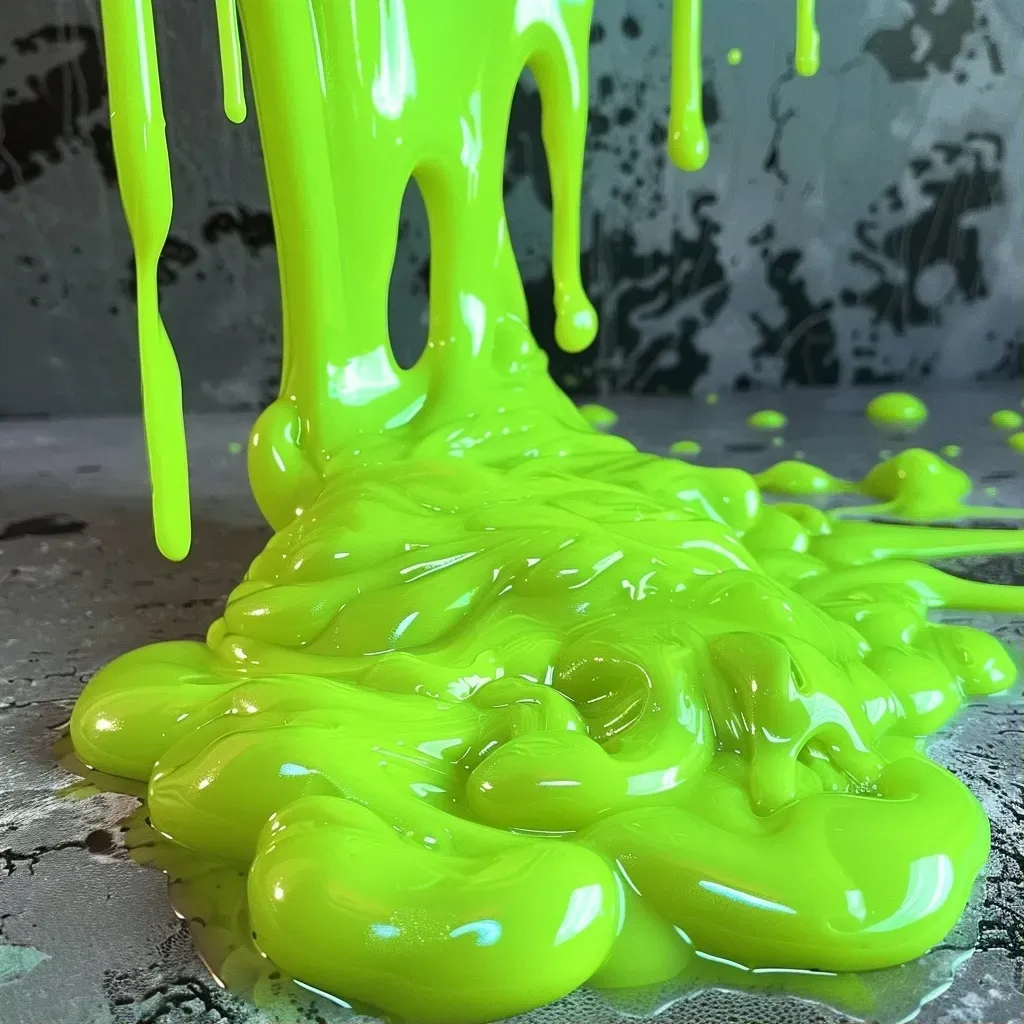
Halloween is just around the corner, and what better way to celebrate than by making your own spooky slime? This Halloween slime recipe is not only simple but also provides endless fun for kids and adults alike. Whether it’s for a Halloween party or a cozy night in, this glow-in-the-dark cauldron slime will be a hit. Let’s dive into how to create this gooey masterpiece!
Why You’ll Love This Recipe
This slime recipe is perfect for anyone looking to bring some excitement to their Halloween festivities. Here are just a few reasons why you’ll love making this slime:
- Easy to Make: With just a few ingredients, you can whip up this slime in no time, making it ideal for last-minute Halloween activities.
- Glow-in-the-Dark Fun: Adding glow-in-the-dark paint makes this slime a thrilling addition to your Halloween decor, lighting up your night!
- Customizable: You can easily add different colors, scents, or even creepy crawlies to personalize your slime experience.
- Safe for Kids: This recipe uses non-toxic materials, making it a safe choice for kids to enjoy while fostering creativity.
- Great for Parties: Perfect as a party favor or activity, this slime can be the highlight of any Halloween gathering!
Ingredients Breakdown
Here’s what you’ll need to create your cauldron Halloween slime:

★ Recommended Kitchen Tool
Professional Chef Knife Set
Make this recipe even easier with a quality Professional Chef Knife Set — a must-have kitchen staple!
- 2 (4-ounce) bottles of Elmer’s glue: Clear glue works best for a transparent slime.
- Glow-in-the-dark paint: Choose a good quality paint to ensure your slime glows brightly.
- Neon green food dye: This adds that spooky touch to your slime.
- 1 teaspoon Borax: Acts as a slime activator.
- Water: Warm water helps dissolve the Borax and mix with glue.
For substitutions, you can use any PVA glue for the base, and if you don’t have Borax, liquid starch can be a great alternative.
Step-by-Step Instructions
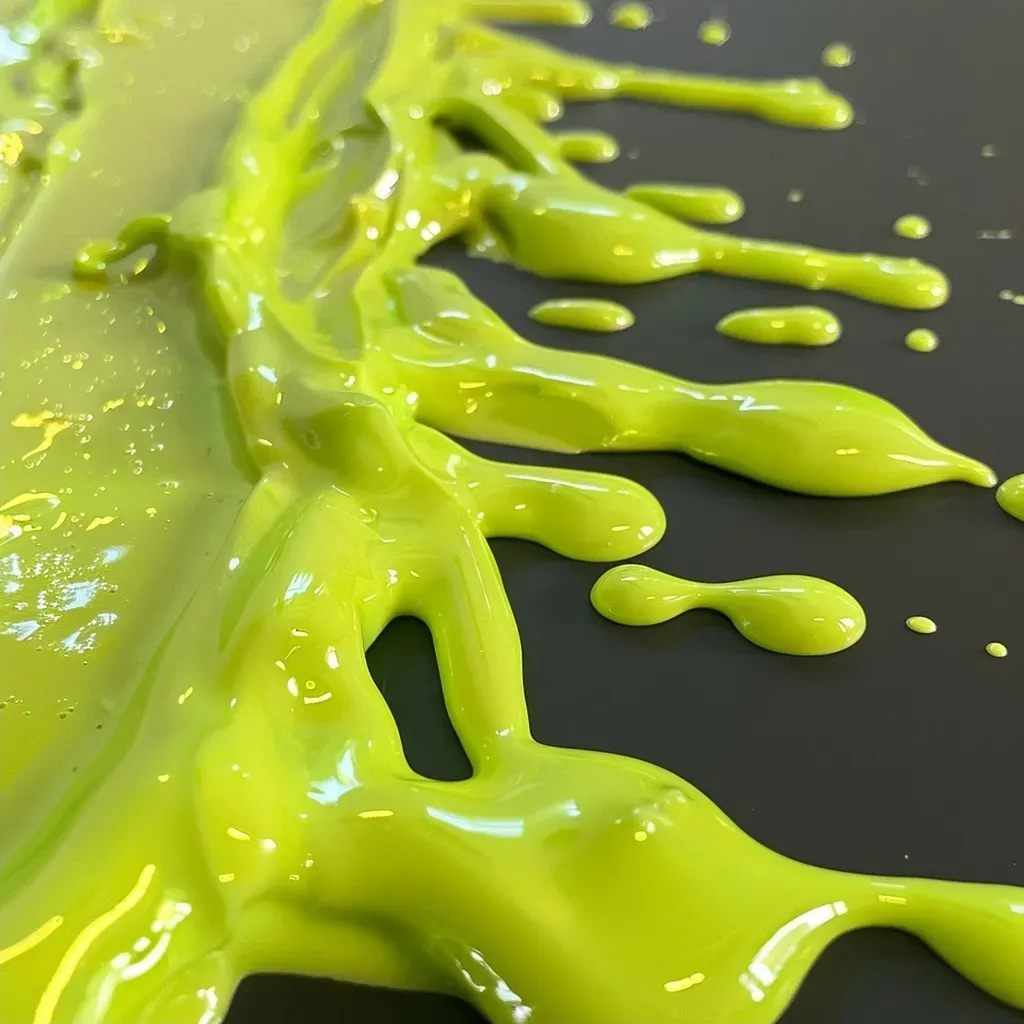
Let’s get crafting! Follow these simple steps to make your Halloween slime:
- Pour the glue into a large bowl. Fill the empty glue bottles with warm water, close the cap, and shake to loosen any remaining glue. Pour this water into the bowl and mix with the glue.
- Add the neon green food dye and glow-in-the-dark paint. The more paint you use, the brighter your slime will glow in the dark!
- In a separate cup, stir half a cup of warm water with one teaspoon of Borax until it dissolves. Then, pour this Borax water into your glue mixture.
- Stir until the slime begins to form. It might be sticky at first, but don’t worry! Use your hands to knead it until it reaches the perfect consistency.
- Store your slime in an airtight container or plastic bag when not in use to keep it fresh and stretchy.
Pro Tips for Perfect Slime
To ensure your slime turns out perfectly every time, keep these expert tips in mind:
- Temperature Matters: Warm water helps dissolve the Borax quickly, ensuring a smoother slime consistency.
- Mix Thoroughly: When combining the glue and water, make sure to mix thoroughly for a uniform slime texture.
- Adjust Consistency: If your slime is too sticky, add a little more Borax solution. If it’s too stiff, add a bit of water.
- Experiment with Add-ins: Consider adding glitter, foam beads, or spooky decorations like plastic spiders for extra fun!
- Preserve the Glow: Keep your slime away from direct sunlight to maintain its glow-in-the-dark properties.
- Use Food Coloring Sparingly: A little goes a long way! Start with a few drops and add more as needed.
- Keep Hands Clean: If the slime gets too sticky, a little baby oil on your hands can help manage the mess.
- Safety First: Always supervise young children during slime-making activities to ensure safe play.
Common Mistakes and Troubleshooting
If you run into issues while making your slime, here are some common mistakes and how to fix them:
- Sticky Slime: If your slime is too sticky, it’s likely you need more Borax solution or to knead it longer.
- Too Runny: Add a bit more Borax solution and mix until it thickens.
- Not Glowing: Ensure you used enough glow-in-the-dark paint and keep it under light before using.
- Color Fading: Store slime in a cool, dark place to maintain its vibrant color and glow.
Variations to Try
Want to switch things up? Here are four fun variations to personalize your Halloween slime:
- Spooky Spider Slime: Add plastic spiders or other creepy decorations for an extra fright!
- Pumpkin Spice Slime: Mix in pumpkin spice scent for a festive twist.
- Batty Black Slime: Use black food coloring and add bat confetti for a classic Halloween look.
- Monster Slime: Incorporate googly eyes for a fun, monstrous texture and appearance.
Storage and Make-Ahead Instructions
To keep your slime fresh and ready for play:
- Store slime in an airtight container or a zip-lock bag to prevent it from drying out.
- For longer-lasting slime, consider refrigerating it, which can extend its lifespan.
- If you want to make slime ahead of time, it can be made a day or two in advance and stored properly.
Frequently Asked Questions
Here are some common queries about making Halloween slime:
- Can I use other types of glue? Yes, any PVA glue can work, but be cautious with variations as they may affect the slime’s texture.
- Is this slime edible? No, this slime is not safe to eat, so always supervise children during play.
- How long does slime last? Properly stored slime can last several weeks, but usage may affect its longevity.
- Can I add scents to the slime? Absolutely! Use food-safe scents to enhance the sensory experience.
- What if my slime is too hard? Add a little warm water and knead well to soften it up.
- Can I use glitter in my slime? Yes, adding glitter can make your slime sparkle and look more festive!
- How do I clean up spills? Use warm soapy water to clean up any slime spills from surfaces.
- What’s the best way to dispose of old slime? Throw it in the trash rather than down the drain, as it can cause clogs.
Nutrition Tips and Dietary Adaptations
While slime isn’t a food, it’s important to consider dietary adaptations when crafting:
- Non-Toxic Ingredients: Always use non-toxic glue and paints to ensure safety for kids.
- Allergy Awareness: Be mindful of any allergies when selecting add-ins like glitter or scents.
Equipment Recommendations
To make the slime-making process smoother, here are some recommended tools:
- Mixing Bowl: A large bowl for mixing your ingredients together.
- Measuring Cups: Accurate measurements are key for perfect slime consistency.
- Mixing Spoon: A sturdy spoon for mixing; a spatula can also work well.
- Airtight Containers: To store your finished slime and keep it fresh.
Serving Suggestions
Serve your slime at a Halloween party as part of a fun activity. Set up a slime station where kids can create their own unique blends, or package small portions in jars as party favors!
In conclusion, this Halloween slime recipe is not just a fun activity; it’s a way to ignite creativity and bring joy to your Halloween celebrations. Get ready to have a blast making your spooktacular slime, and remember: the key to great slime is experimentation and fun. Happy crafting!
Cauldron Halloween Slime
Ingredients
Base Ingredients
- 8 oz Elmers glue (2 bottles of 4 oz each)
- 1 tsp Borax (dissolved in warm water)
- 0.5 cup water (for Borax solution)
Color and Glow
- 1 tsp Glow in the dark paint
- 3 drops Neon green food dye
Instructions
- Pour the glue into a large bowl and add green food dye and glow paint. Mix well.
- In a small cup, dissolve Borax in warm water.
- Pour the Borax solution into the glue mixture and stir until slime forms.
- Work the slime with your hands until it reaches the desired consistency.
- Store in an airtight container when not in use.