Why Gingered Pear Preserves Will Become Your Go-To Recipe
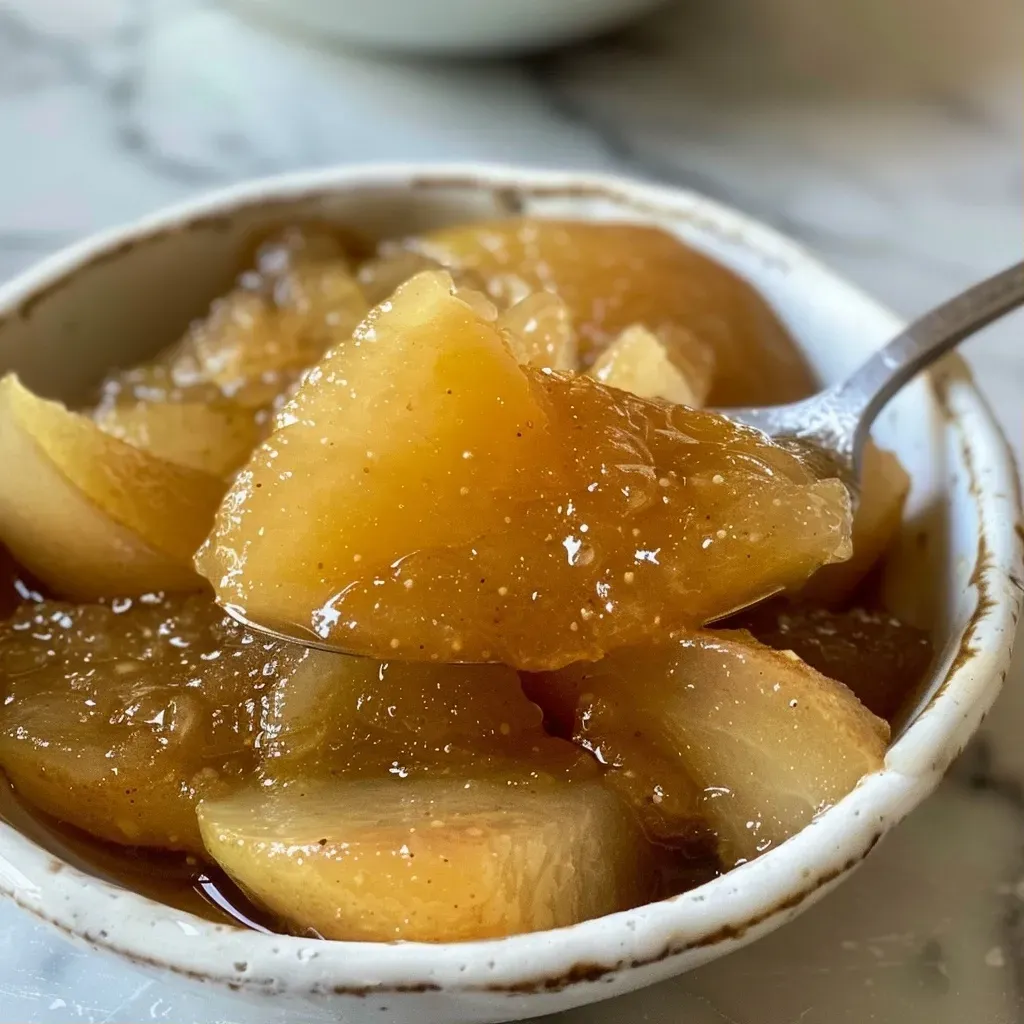
If you’re looking for a delightful way to preserve the sweet, juicy flavor of pears, you’re in for a treat with this gingered pear preserves recipe. This recipe balances the natural sweetness of pears with the spicy warmth of ginger and zesty lime, creating a spread that’s perfect for toast, desserts, or even as a topping for savory dishes. With just a handful of ingredients and straightforward steps, you can transform your kitchen into a haven of aromatic goodness. In this comprehensive guide, you’ll discover not only how to make these preserves but also tips, variations, and everything you need to know to succeed.
Why You’ll Love This Recipe
Here are five compelling reasons to try making gingered pear preserves:
- Easy to follow: This tested recipe breaks down the process into simple, manageable steps.
- Unique flavor combination: The pairing of ginger and lime with sweet pears creates a refreshing twist.
- Versatile use: These preserves can enhance your breakfast, serve as a dessert topping, or even complement savory dishes.
- Low-sugar option: You can adjust the sugar content to suit your taste, making it a healthier choice.
- Perfect for gifting: Jars of homemade preserves make thoughtful and delicious presents for friends and family.
Understanding the Ingredients
To create the best gingered pear preserves, you’ll need the following ingredients:

★ Recommended Kitchen Tool
5-Speed Electric Hand Mixer
Make this recipe even easier with a quality 5-Speed Electric Hand Mixer — a must-have kitchen staple!
- 5 ½ cups finely chopped cored peeled pears: About 8 medium pears, choose ripe ones for the best flavor.
- Grated zest and juice of 3 limes: This adds a bright acidity that balances the sweetness.
- 2 ⅓ cups granulated sugar: Adjust this for a lower sugar version if desired.
- 1 tablespoon freshly grated ginger: Use fresh ginger for the best flavor; powdered ginger can be a substitute but may alter the taste.
**Substitutions**: You can use other types of citrus, like lemons or oranges, for a different flavor profile. For a low-sugar option, consider using a sugar substitute approved for canning.
Pro Tips for Perfect Preserves
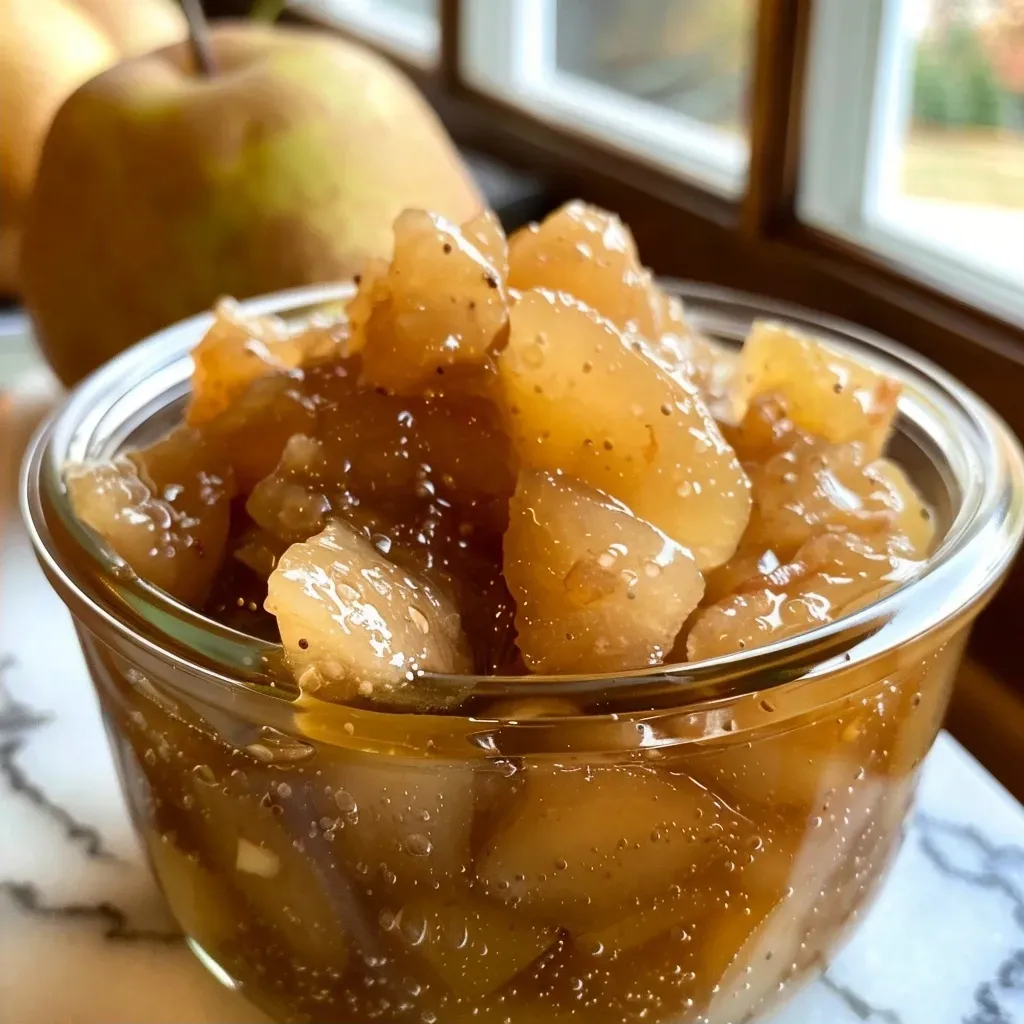
Here are some expert insights to ensure your gingered pear preserves turn out perfectly every time:
- Choose ripe pears: Overripe pears will yield more juice and sweetness, making them perfect for preserves.
- Test for gel stage: Use a spoon to check if the mixture breaks in a sheet; this indicates it’s ready to jar.
- Don’t skip the lid prep: Wash canning lids in warm soapy water to ensure a good seal.
- Adjust for altitude: If you’re canning at a high altitude, be sure to process your jars longer.
- Keep everything hot: Ensure that your jars and mixture are hot to prevent breakage.
- Jar size matters: Use pint jars for easy handling and perfect portion sizes.
- Label your jars: Include the date and contents for easy identification later.
- Experiment with spices: Consider adding cinnamon or nutmeg for a warm flavor twist.
Avoiding Common Mistakes
Even seasoned cooks can run into trouble when making preserves. Here are some common pitfalls to watch out for:
- Not using enough acid: The lime juice is crucial for flavor and preservation; don’t skip it!
- Ignoring jar sterilization: Properly sterilizing jars prevents spoilage.
- Overcooking: This can lead to a thick, candy-like consistency instead of a soft preserve.
- Skipping the gel test: Always test for gel stage to ensure your preserves set correctly.
Variations to Try
If you’d like to put your spin on this recipe, here are some fun variations:
- Spicy Gingered Pear Preserves: Add a pinch of cayenne pepper for a spicy kick.
- Cinnamon Pear Preserves: Include a cinnamon stick during cooking for warm spice notes.
- Herbal Infusion: Experiment with fresh herbs like thyme or rosemary for a unique flavor.
- Mixed Fruit Preserves: Combine pears with apples or peaches for a delightful twist.
Storage and Make-Ahead Instructions
Your gingered pear preserves can be stored safely for up to a year when processed correctly. Here’s how to do it:
- Cool jars completely: After processing, let your jars cool at room temperature for 12-24 hours.
- Check seals: Make sure lids are sealed properly; they shouldn’t flex when pressed.
- Store in a cool, dark place: A pantry or cupboard away from sunlight is ideal.
- Make-ahead tip: You can prepare the preserves a few weeks before serving for optimal flavor development.
Frequently Asked Questions
Here are answers to some common questions about making gingered pear preserves:
- Can I use Asian pears? Yes, but be aware that they have a different texture and may yield different results.
- How long do these preserves last? Properly sealed jars can last up to one year.
- Can I freeze the preserves? Yes, but freezing may change the texture. It’s best to can them for long-term storage.
- What if my preserves are too runny? Return them to heat and cook longer to thicken.
- Do I need to water bath can? Yes, this process is crucial for safety and preservation.
- Can I double the recipe? Yes, but process in batches to ensure even cooking.
- Do I need to add pectin? No, the natural pectin in pears works well with lime juice.
- How can I use these preserves? Enjoy them on toast, in desserts, or as a topping for meats.
Nutrition and Dietary Adaptations
When making gingered pear preserves, consider these nutrition tips:
- Low-sugar adaptations: Substitute granulated sugar with stevia or erythritol for a lower-calorie option.
- Ginger benefits: Ginger is known for its anti-inflammatory properties, which can be a health bonus.
- Serving size: A tablespoon of preserves is a great way to enjoy the flavor without overdoing sugar intake.
Recommended Equipment
To make this recipe, you’ll need the following equipment:
- Canning jars: Use pint or half-pint jars with lids and bands for best results.
- Large stainless-steel saucepan: Ideal for cooking the preserves evenly.
- Boiling water canner: Essential for processing the jars safely.
- Jar lifter: Makes transferring jars in and out of the canner safe and easy.
Delicious Serving Suggestions
Now that you’ve made your gingered pear preserves, here are some ways to enjoy them:
- Spread on toast: A classic way to enjoy your preserves; perfect for breakfast!
- On yogurt: Stir into yogurt for a flavorful snack or breakfast.
- As a dessert topping: Use over ice cream or cheesecake for a sweet finish.
- On meats: Glaze grilled chicken or pork for a sweet and spicy kick.
With this comprehensive guide, you’re well-equipped to make your own gingered pear preserves. Remember, cooking is about enjoying the process and having fun. So put on some music, gather your ingredients, and let’s get cooking!
Gingered Pear Preserves Recipe
Ingredients
Fruits and Zest
- 5 ½ cups finely chopped cored peeled pears (about 8 medium)
- 3 pieces limes (for zest and juice)
- 2 ⅓ cups granulated sugar
- 1 tablespoon freshly grated ginger
Instructions
- Prepare boiling water canner and heat jars in simmering water.
- Combine pears, lime zest and juice, sugar, and ginger; bring to a boil and cook until thickened, about 15 minutes.
- Test gel stage; skim foam. Continue cooking and testing if needed.
- Ladle hot preserves into jars, leaving ¼-inch headspace, and process in boiling water for 10 minutes.
- Remove jars, cool, and check seals after 12-24 hours.