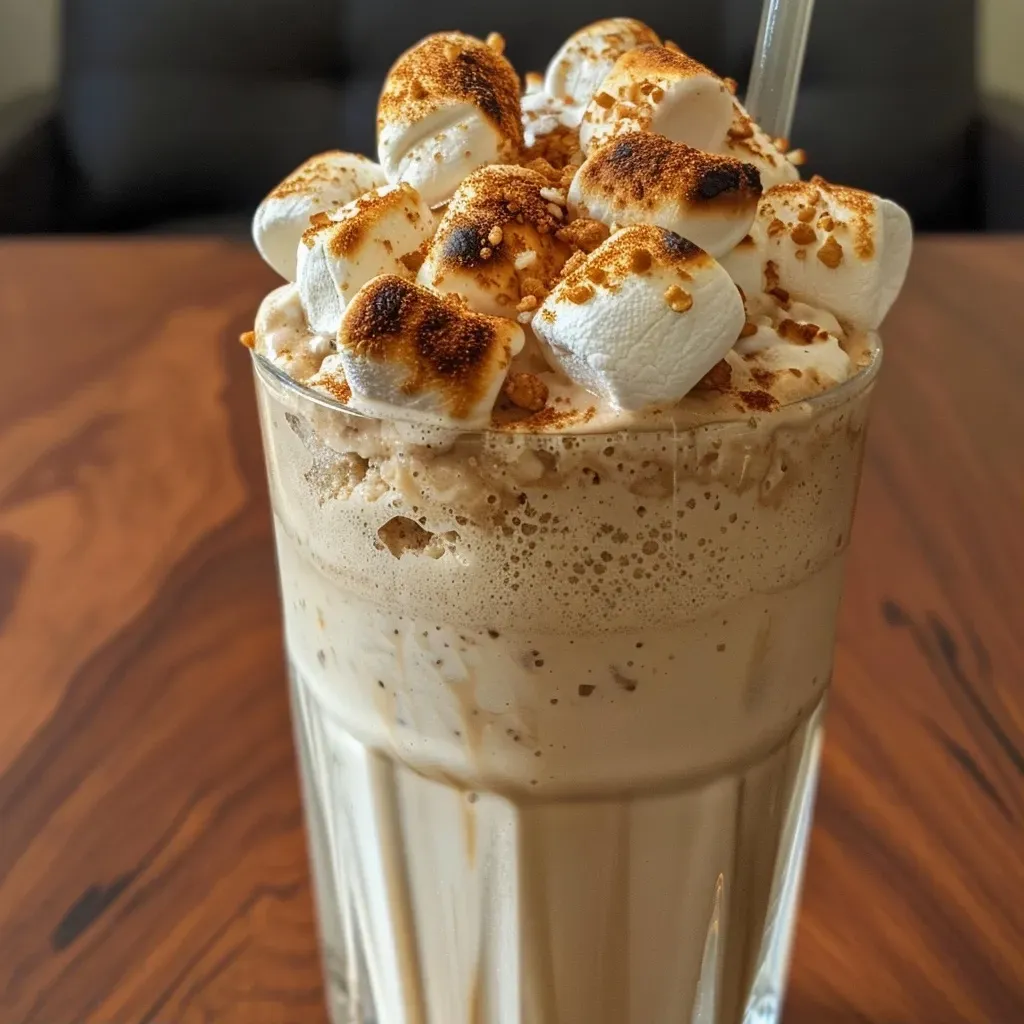
Indulge in a Sweet Delight: Toasted Marshmallow Milkshakes
There’s something magical about the combination of creamy ice cream and the rich, smoky flavor of toasted marshmallows. If you’re looking for a fun, easy dessert that brings a little nostalgia, you’ve come to the right place! This recipe for toasted marshmallow milkshakes is not just quick to make, but it also elevates a traditional milkshake into a delightful treat that will remind you of summer campfires and cozy evenings. In this guide, we’ll explore everything you need to know to whip up the perfect toasted marshmallow milkshake!
Why You’ll Love This Recipe
There are countless reasons to fall in love with these toasted marshmallow milkshakes! Here are just a few:
- Quick and Easy: With just four ingredients and minimal prep time, this recipe is perfect for busy days or spontaneous cravings.
- Ultimate Comfort Food: The creamy texture combined with the smoky sweetness of toasted marshmallows creates a comforting dessert that feels like a warm hug.
- Customizable: Whether you want to add a scoop of your favorite ice cream flavor or mix in some chocolate syrup, the options are endless.
- Perfect for All Ages: Kids and adults alike will love this treat, making it a fantastic choice for family gatherings or parties.
- Impressive Presentation: Garnishing with toasted marshmallows makes for an eye-catching treat that’s sure to impress your guests.
Ingredients Breakdown
Let’s dive into the essential ingredients for this delicious milkshake:

★ Recommended Kitchen Tool
Meal Prep Container Set
Make this recipe even easier with a quality Meal Prep Container Set — a must-have kitchen staple!
- 10 Regular Sized Marshmallows: These will be toasted for flavor and texture. You can use larger marshmallows if you prefer a more pronounced marshmallow taste.
- 4 Cups Vanilla Ice Cream: The base of your milkshake. Feel free to experiment with flavors like chocolate or mint for a unique twist.
- ¾ Cup Milk: This will help achieve the perfect shake consistency. Use whole milk for creaminess or almond milk for a lighter option.
- Pinch of Salt: A little salt enhances the sweetness and balances the flavors beautifully.
Step-by-Step Instructions
Now that you have your ingredients ready, let’s get started with the preparation!
- Line a sheet pan with tin foil—avoid parchment paper, as it can catch fire. Lightly spray the foil with cooking spray to prevent sticking.
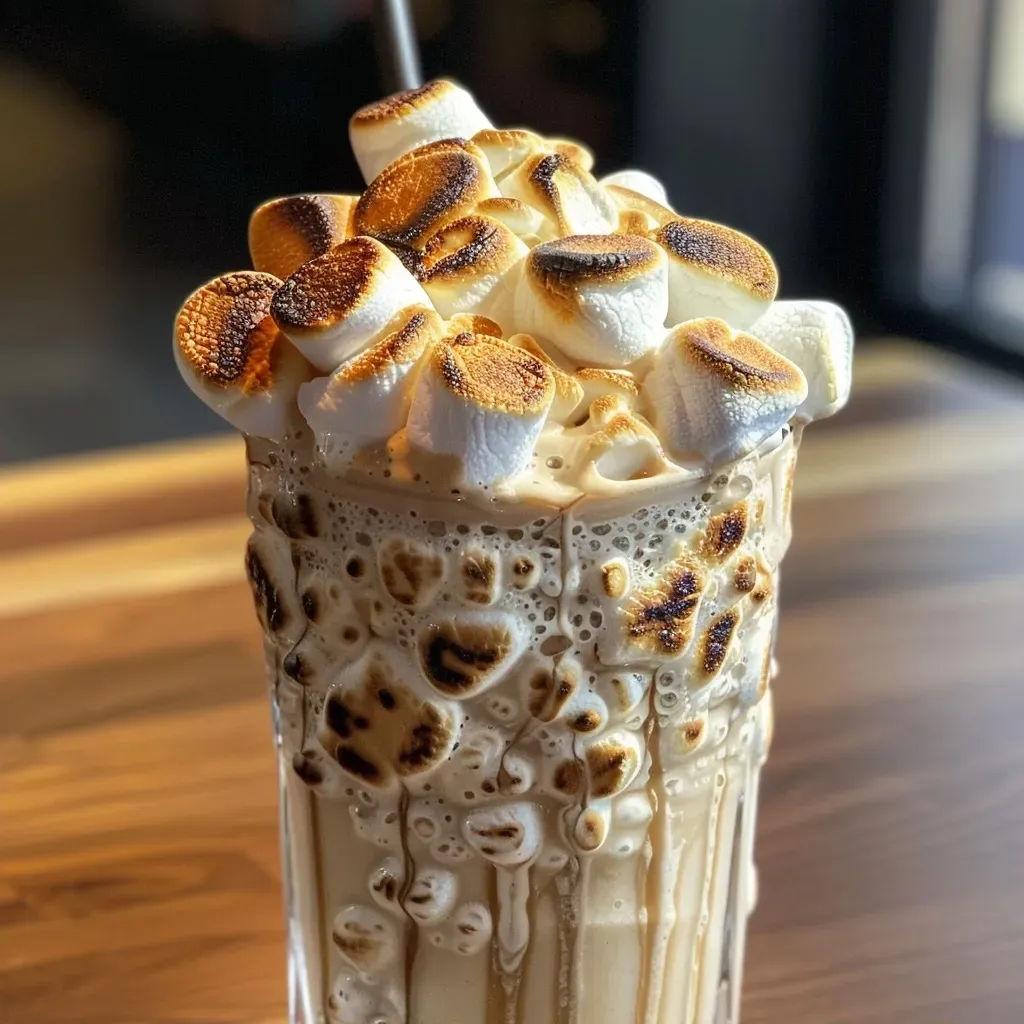
- Place 10 marshmallows on the foil. Using a blow torch, toast 8 of them on all sides until they are deeply charred—this will enhance their smoky flavor. The remaining 2 marshmallows will be used for garnish, so toast those just until lightly golden.
- If you don’t have a blow torch, you can toast the marshmallows under your oven’s broiler. Just be sure to keep an eye on them to avoid burning, and remove them once they are nicely charred. Alternatively, skewer them and toast them individually over a gas stovetop flame or open fire.
- Scoop your ice cream into a large mixing vessel with enough room to blend all the ingredients. Add the milk, the 8 charred marshmallows, and a pinch of salt.
- Using an immersion blender, blend the mixture until it’s completely smooth. If you prefer, a regular blender works just as well.
- Pour the milkshake into two tall glasses and garnish with the remaining two toasted marshmallows. Add a straw, take a sip, and enjoy your creation!
Pro Tips for the Perfect Milkshake
To ensure your toasted marshmallow milkshake turns out just right, consider these expert tips:
- Use quality ingredients: High-quality ice cream and fresh marshmallows can elevate the flavor of your milkshake.
- Mix it up: Don’t hesitate to add flavors like chocolate syrup, peanut butter, or even a splash of coffee for a different twist!
- Chill your glasses: For an extra frosty experience, chill your serving glasses in the freezer for about 15 minutes before pouring in the milkshake.
- Adjust the thickness: If your milkshake is too thick, add a bit more milk. If it’s too runny, add more ice cream until you reach your desired consistency.
- Experiment with toppings: Try adding whipped cream, a drizzle of chocolate or caramel sauce, or even crushed graham crackers to give it a s’mores vibe!
- Stay safe with flames: If using a blow torch, always follow safety guidelines and keep a fire extinguisher nearby, just in case!
- Don’t rush the toasting: Take your time to achieve the perfect char on your marshmallows for that smoky flavor.
- Make it a family affair: Involve the kids in toasting marshmallows and blending—they’ll love being part of the process!
Common Mistakes and Troubleshooting
Even the best cooks make mistakes! Here are some common issues and how to avoid them:
- Marshmallows burning: If you find your marshmallows are burning, lower the flame or move them further away from the heat source to toast them more gently.
- Shakes not blending well: If your milkshake is chunky, try blending it for a bit longer or adding a splash more milk to help everything combine smoothly.
- Too sweet or too salty: Taste as you go! Adjust the amount of marshmallows or salt to get the perfect balance for your palate.
- Too thick or too thin: Adjust the ice cream and milk ratios to find that sweet spot for your preferred consistency.
Delicious Variations to Try
Looking to switch things up? Here are some fun variations to inspire your next toast:
- Chocolate Lover’s Delight: Substitute half of the vanilla ice cream with chocolate ice cream and swirl in chocolate syrup for an extra indulgent treat.
- Nutty S’mores Shake: Add a tablespoon of peanut butter to your shake and top with crushed graham crackers for that classic s’mores flavor.
- Minty Fresh: Incorporate a few drops of peppermint extract into the shake for a refreshing mint chocolate twist.
- Fruity Marshmallow: Blend in some fresh strawberries or bananas for a fruity spin on your milkshake!
Storage and Make-Ahead Instructions
This milkshake is best enjoyed fresh, but you can make some components ahead of time:
- Prepare marshmallows: Toast your marshmallows in advance and store them in an airtight container until you’re ready to blend.
- Ice cream scoops: Pre-scoop your ice cream into individual portions and freeze them for quick access when you’re ready to make the shake.
- Leftovers: If you have leftover milkshake, store it in the freezer for up to an hour. Just give it a quick blend again before serving!
FAQs About Toasted Marshmallow Milkshakes
Here are some frequently asked questions to help you with your milkshake experience:
- Can I use different flavors of ice cream? Absolutely! Feel free to experiment with different flavors like chocolate, coffee, or even mint.
- What if I don’t have a blow torch? You can toast marshmallows under the broiler, on a gas stove, or over an open flame with skewers.
- How do I make this dairy-free? Substitute the ice cream with dairy-free alternatives and use non-dairy milk for a delicious vegan version.
- Can I add alcohol to my milkshake? Yes! A splash of your favorite liqueur like Bailey’s or Kahlua can make a fun adult version.
- How long do toasted marshmallows last? Toasted marshmallows can be stored in an airtight container for up to 2 days, but they are best enjoyed fresh.
- Is this recipe kid-friendly? Definitely! Kids will love helping with the toasting and blending process.
- What can I use as a garnish? Apart from toasted marshmallows, you can use whipped cream, chocolate shavings, or crushed graham crackers.
- Can I make this milkshake ahead of time? It’s best enjoyed fresh, but you can prepare the ingredients ahead and blend just before serving.
Nutritional Tips and Dietary Adaptations
For those conscious about nutrition, here’s how you can adapt this recipe:
- Low-Fat Option: Use low-fat ice cream and skim milk to reduce calories while still enjoying a creamy milkshake.
- Sugar-Free Version: Look for sugar-free marshmallows and ice cream to enjoy this treat without the added sugar.
- Gluten-Free: All the ingredients listed are generally gluten-free, but always check labels to ensure your specific products are safe.
Essential Equipment for Success
Here are some tools that will make your milkshake-making experience smoother:
- Blender or Immersion Blender: Essential for achieving that smooth, creamy consistency.
- Baking Sheet: Use this for toasting your marshmallows safely.
- Blow Torch or Broiler: Critical for toasting your marshmallows beautifully.
- Measuring Cups and Spoons: Precise measurements will help ensure the best flavor balance.
Serving Suggestions
To enhance your milkshake experience, consider these serving ideas:
- Serve with Cookies: Pair your milkshake with chocolate chip cookies or graham crackers for a delightful treat.
- Add a Fun Straw: Use colorful or themed straws for a festive touch.
- Host a Milkshake Bar: Set up different toppings and mix-ins for guests to customize their shakes.
In Conclusion
Making a toasted marshmallow milkshake is not just a recipe; it’s an experience filled with warmth, creativity, and a bit of nostalgia. Whether you’re enjoying it on a hot summer day or a cozy winter evening, this delightful treat is bound to brighten your mood. So gather your ingredients, invite a friend or family member to join you, and enjoy the process of creating something truly delicious. Happy blending!
Easy Toasted Marshmallow Milkshakes
Ingredients
Marshmallows
- 4 cups vanilla ice cream
- 0.75 cup milk
- 10 regular-sized marshmallows marshmallows (10 marshmallows, toasted)
- pinch salt
Instructions
- Line a foil-lined sheet and toast 8 marshmallows until charred; toast 2 lightly for garnish.
- Combine ice cream, milk, 8 toasted marshmallows, and salt in a blender.
- Blend until smooth, then pour into glasses.
- Garnish with remaining toasted marshmallows and serve with a straw.