
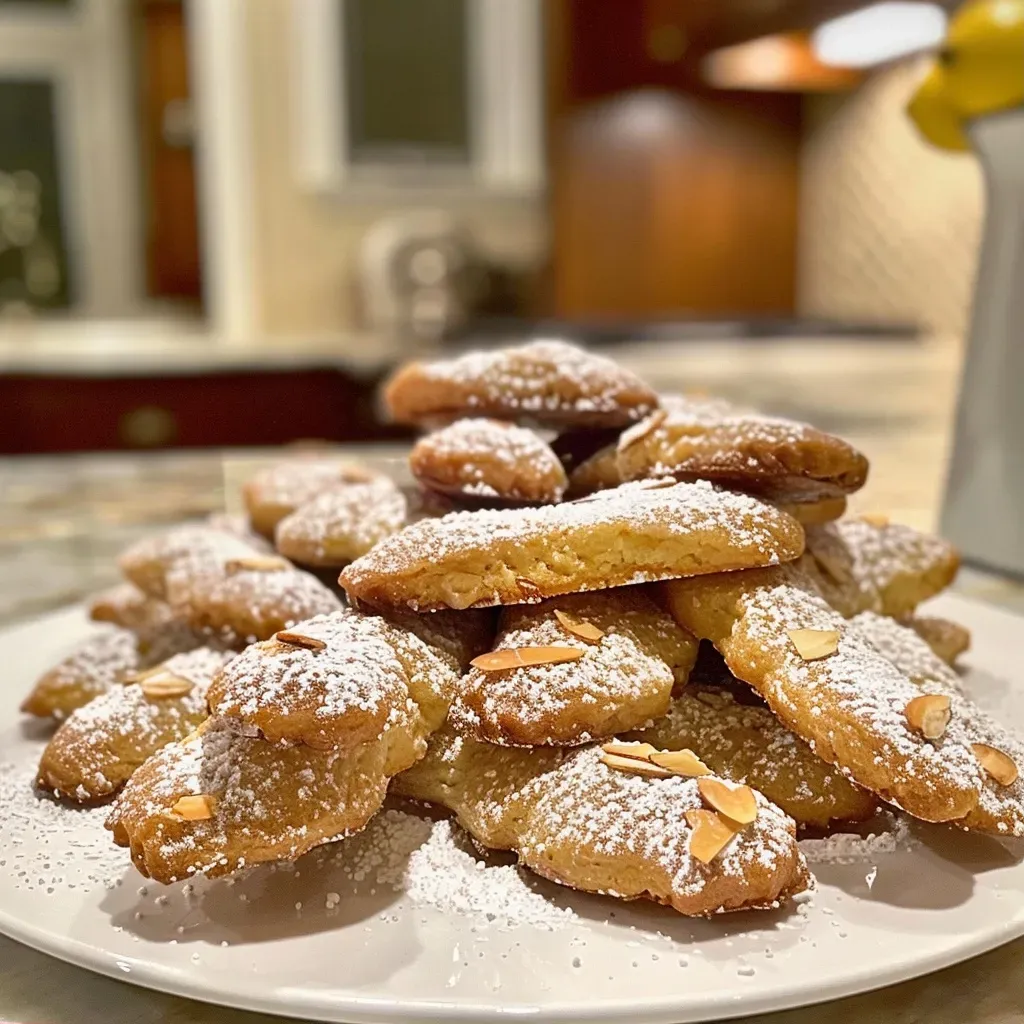
Embrace the Spooky Spirit with Witch Finger Cookies
There’s something undeniably enchanting about Halloween, and these Witch Finger Cookies capture that magic beautifully. Perfect for Halloween parties or just a fun family baking afternoon, these delicious finger-shaped cookies are both spooky and delightful! With simple ingredients and easy-to-follow steps, you’ll impress your friends and family with your baking prowess. Let’s dive into everything you need to know about making these wickedly delicious treats!
Why You’ll Love This Recipe
- Easy to Make: This recipe is straightforward, with no complicated techniques or hard-to-find ingredients. Perfect for all skill levels!
- Fun for Everyone: Kids and adults alike will love crafting these creepy cookies, making it a great family activity.
- Customizable Toppings: Use different colored food coloring or toppings to create unique variations of these cookies!
- Perfect for Halloween Parties: These cookies are sure to be a hit at any Halloween gathering, adding a touch of spooky fun to your dessert table.
- Great for Gifting: Package these cookies as Halloween treats for friends, family, or neighbors for a festive surprise!
Ingredient Breakdown
Understanding the role of each ingredient in your Witch Finger Cookies will help you appreciate the baking process and make substitutions if needed.
- 1 cup butter: Essential for that rich, buttery flavor and tender texture. Use unsalted butter for best results.
- 1 cup powdered sugar: Adds sweetness and helps achieve a melt-in-your-mouth texture. You can substitute with coconut sugar for a different flavor.
- 1 large egg: Binds the ingredients together. If you need an egg substitute, consider using 1/4 cup applesauce or a flax egg (1 tbsp flaxseed meal + 2.5 tbsp water).
- 1 teaspoon vanilla extract: Enhances the flavor. Feel free to use almond extract for a unique twist.
- 2 3/4 cups all-purpose flour: Forms the base of the cookies. You can substitute with gluten-free flour for a gluten-free version.
- 1/2 teaspoon salt: Balances the sweetness. If you’re using salted butter, you can omit this.
- 1/2 teaspoon baking powder: Helps the cookies rise and become fluffy. Baking soda can be used as a substitute, but adjust the quantities accordingly.
- 36 sliced almonds: These serve as the “nails” for your cookies. If you prefer a nut-free version, you can use chocolate chips or dried fruit instead.
- 1/4 cup strawberry jam: Adds a creepy blood effect. You can switch this with raspberry jam for a darker color.
Step-by-Step Instructions
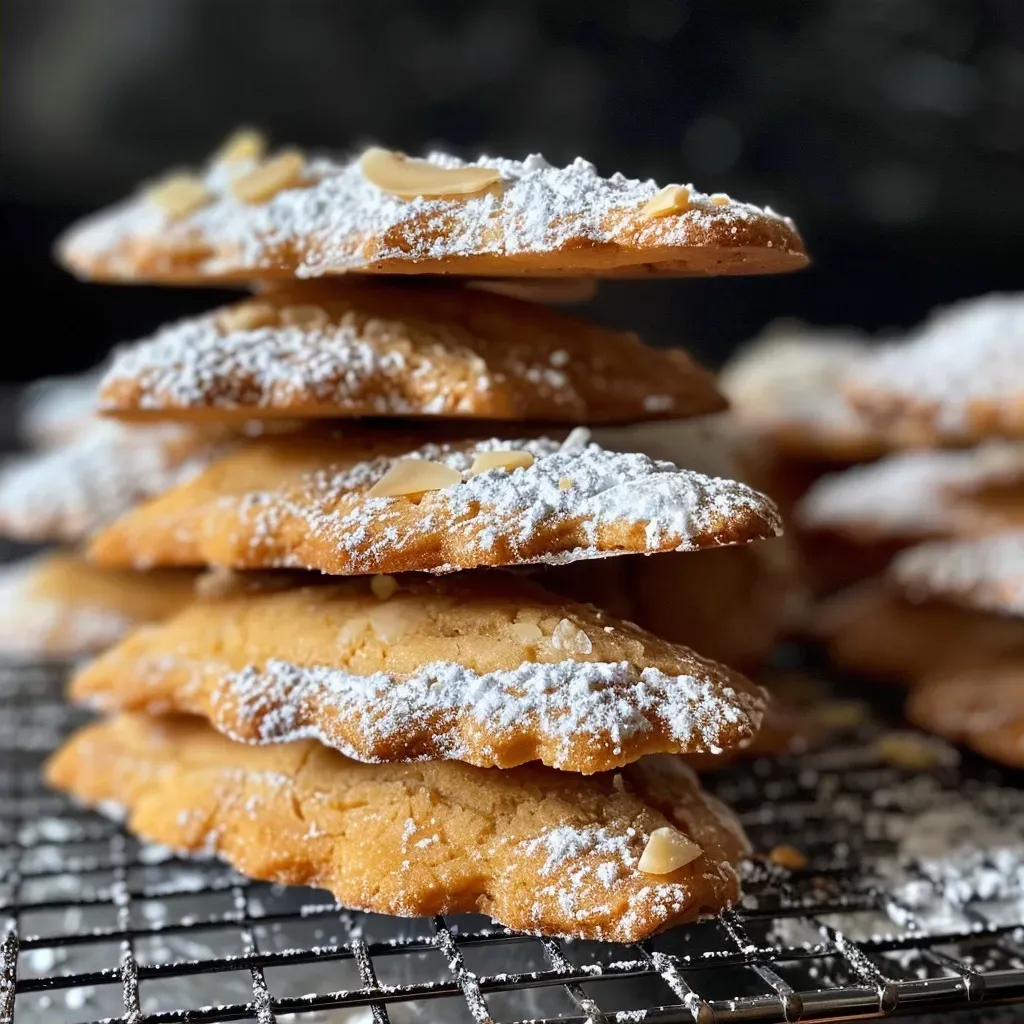
Follow these detailed steps to create your own batch of Witch Finger Cookies:

★ Recommended Kitchen Tool
Silicone Baking Cups Set
Make this recipe even easier with a quality Silicone Baking Cups Set — a must-have kitchen staple!
- Preheat your oven to 350°F (175°C). Prepare a cookie sheet lined with parchment paper and set aside.
- In a large bowl, cream together the butter and powdered sugar using an electric mixer on medium speed until evenly mixed.
- Add the egg and vanilla extract, mixing until fully combined.
- In a separate medium bowl, whisk together the flour, salt, and baking powder. Gradually mix this dry mixture into the wet batter in three additions.
- Once the dough is well combined, use a small cookie scoop to portion out 1 tablespoon of dough and roll it into a ball.
- Shape each ball into a 3-inch cylinder, mimicking a finger shape.
- Pinch the dough slightly below where the “nail” would be to create a knuckle effect, and repeat pinching for the knuckles.
- Using your index finger, create an indent for the nail bed and place a sliced almond as the nail.
- With the bottom of a piping tip, create indents under the nail bed and on the knuckles to add detail.
- Break off a small portion of the finger’s tip to make it appear severed.
- Repeat the shaping process with the remaining dough, placing the cookies on the prepared sheet one inch apart.
- Chill the formed cookies in the refrigerator for 15-20 minutes to prevent spreading during baking.
- Bake in the preheated oven for 12 minutes or until slightly golden. If needed, bake for an additional 2 minutes until you achieve your desired color.
- Allow the cookies to cool on the baking sheet for 5 minutes before transferring to a wire rack to cool completely.
- If desired, use a kitchen torch to create slight burn marks around the knuckles for added spookiness.
- Warm the strawberry jam in a small microwave-safe bowl for 20 seconds and use a fine tip paintbrush to paint the jam around the nail bed. Dip the severed end of the finger in the jam and transfer to a serving plate.
Pro Tips for Perfect Cookies
- Chill Your Dough: Chilling the cookies helps maintain their shape and prevents spreading.
- Experiment with Colors: Use green or purple food coloring for a fun twist on the traditional look!
- Don’t Skip the Indents: Adding details like knuckles and nail beds enhances the spooky effect.
- Use Quality Ingredients: Quality butter and vanilla can make a noticeable difference in flavor!
- Keep an Eye on Baking: Ovens can vary; keep an eye on your cookies to prevent over-baking.
- Decorate Creatively: Consider adding edible glitter or other spooky decorations for an extra touch!
- Practice Makes Perfect: Don’t worry if they don’t look perfect the first time. Each batch gets easier as you go!
Common Mistakes and Troubleshooting
Here are a few common pitfalls to avoid when making your Witch Finger Cookies:
- Overmixing the Dough: This can lead to tough cookies. Mix just until combined.
- Not Chilling the Dough: Skipping the chill step can result in cookies that spread too much.
- Incorrect Oven Temperature: Always preheat your oven and use an oven thermometer to ensure accuracy.
- Burning the Cookies: Keep a close watch during the last few minutes of baking to avoid over-baking.
Fun Variations to Try
Switch things up with these creative variations:
- Chocolate Witch Fingers: Incorporate cocoa powder into the dough for a chocolatey version.
- Spiced Witch Fingers: Add a pinch of cinnamon or nutmeg to the dough for a warm flavor twist.
- Candy Topped Fingers: Instead of almonds, use gummy worms or candy eyeballs for a fun, playful effect!
- Gluten-Free Version: Substitute all-purpose flour with a gluten-free blend to accommodate dietary restrictions.
Storage and Make-Ahead Instructions
These cookies can be made ahead of time and stored properly for later enjoyment:
- Room Temperature: Store cookies in an airtight container at room temperature for up to 5 days.
- Refrigerator: For longer storage, keep in the fridge for up to 2 weeks.
- Freezer: Freeze the unbaked cookie dough for up to 2 months. Thaw in the refrigerator before baking.
Frequently Asked Questions
- Can I use margarine instead of butter? Yes, but the flavor and texture may vary.
- Can I make these cookies vegan? Yes, you can use a flax egg and vegan butter.
- How do I know when the cookies are done baking? Look for a slight golden edge; they will continue to firm up as they cool.
- Can I decorate these cookies? Absolutely! Feel free to add icing, sprinkles, or other fun toppings!
- What if my dough is too sticky? Add a little extra flour until it reaches a manageable consistency.
- Can I make these in advance? Yes, both the baked cookies and dough can be made ahead of time.
- What’s the best way to package them as gifts? Use decorative bags or boxes; add a spooky label for a festive touch!
- How can I make these cookies healthier? Use whole wheat flour and reduce the sugar for a lighter version.
Nutritional Tips and Dietary Adaptations
Consider the following tips to make your cookies healthier:
- Use Whole Wheat Flour: This will add fiber and nutrients.
- Reduce Sugar: Cut down on powdered sugar by 1/4 cup for a less sweet cookie.
- Natural Sweeteners: Substitute with honey or maple syrup for a more natural option.
Equipment Recommendations
To make your baking experience smooth, consider having the following equipment on hand:
- Electric Mixer: A must for creaming butter and sugar effectively.
- Parchment Paper: Prevents sticking and makes cleanup easier.
- Cookie Scoop: Ensures uniform cookie sizes for even baking.
- Wire Rack: Ideal for cooling your cookies quickly and evenly.
Serving Suggestions
To elevate your presentation, consider these serving ideas:
- Garnish with Edible Flowers: Adds a beautiful touch to your spooky treats.
- Serve with Milk: Pair your cookies with a glass of milk or a spooky punch!
- Display on a Halloween-themed Platter: Create an eye-catching dessert table centerpiece.
Conclusion
There you have it! A complete guide to making the most mesmerizing Witch Finger Cookies that are sure to enchant everyone at your next Halloween party. Remember, cooking is all about confidence and creativity—don’t hesitate to put your twist on this recipe. Happy baking, and may your cookies turn out wonderfully witchy!
Witch Finger Cookies
Ingredients
Dough
- 1 cup butter
- 1 cup powdered sugar
- 1 large egg
- 1 teaspoon vanilla extract
- 2 3/4 cup all purpose flour
- 1/2 teaspoon salt
- 1/2 teaspoon baking powder
- 36 sliced almonds sliced almonds
- 1/4 cup strawberry jam
Instructions
- Preheat oven to 350°F (175°C). Line a baking sheet with parchment.
- Cream butter and powdered sugar until smooth. Add egg and vanilla, mix well.
- Mix in flour, salt, and baking powder. Shape dough into 1 tbsp balls, then form into 3-inch cylinders.
- Pinch beneath the nail and knuckle, indent for nail bed, place almond as nail. Create indents with piping tip.
- Chill for 15-20 mins, then bake for 12 mins until golden. Cool on wire rack. Use jam to add bloody effect.