How to Make Irresistibly Delicious Homemade Chocolate Cake Pops
Welcome, fellow baking enthusiasts! Today, we’re diving into a delightful world of homemade chocolate cake pops. These sweet bites are perfect for any occasion, whether you’re celebrating a birthday, having a family gathering, or just craving a sweet treat at home. This easy-to-follow recipe will guide you through every step, ensuring that your cake pops are not only delicious but also a joy to make. So let’s get started and unleash our inner bakers!
Why You’ll Love This Recipe
Here are a few irresistible reasons to try making chocolate cake pops:
- Fun to Make: Rolling and decorating cake pops turns baking into a creative activity that everyone can enjoy.
- Perfect for Any Occasion: These cake pops are versatile enough to fit any celebration, from birthdays to holidays.
- Customizable Flavors: Change up the flavor profile by using different cake bases or coatings to suit your taste.
- Great for Sharing: Cake pops are easy to package and share, making them perfect party favors.
- Use Up Leftover Cake: If you have leftover cake, this is a fantastic way to repurpose it into something new and exciting!
Ingredient Breakdown
Understanding your ingredients is key to making the best chocolate cake pops. Here’s what you’ll need:
- All-purpose flour (1 cup, 125 grams): This is the base of your cake. Make sure it’s spooned and leveled for accuracy.
- Unsweetened cocoa powder (¼ cup + 2 tbsp, 30 grams): For that rich chocolate flavor. Natural cocoa powder is recommended.
- Baking powder (¾ tsp) and Baking soda (½ tsp): These leavening agents help the cake rise.
- Salt (½ tsp): Enhances the flavors of the other ingredients.
- Light brown sugar (½ cup, 100 grams) and Granulated sugar (½ cup, 100 grams): A combination for sweetness and moisture.
- Canola oil (⅓ cup, 80 ml): Keeps the cake moist.
- Buttermilk (½ cup, 120 ml): Adds moisture and a slight tang. If you don’t have any, make your own by mixing milk with vinegar.
- Large egg (1): Binds the ingredients together.
- Pure vanilla extract (1 tsp): For flavor depth.
- Boiling water (½ cup, 120 ml): Helps to bloom the cocoa powder for a more intense chocolate flavor.
- Instant espresso powder (1 tsp, optional): Enhances the chocolate flavor.
- Unsalted butter (¼ cup, 60 grams): For the frosting.
- Powdered sugar (¾ cup, 90 grams): Sweetens and thickens the frosting.
- Unsweetened cocoa powder (2 tbsp, sifted, 10 grams): Added to the frosting for flavor.
- Milk (1 tbsp, 15 ml) and Vanilla extract (¼ tsp): For the frosting consistency and flavor.
- Semi-sweet chocolate (16 ounces): For coating the cake pops.
- Refined coconut oil (1 tbsp, 14 grams): Helps the chocolate coating set smoothly.
- Optional sprinkles or chopped nuts: For decoration and added texture.
Pro Tips for Perfect Cake Pops
Here are some expert insights to ensure your cake pops turn out perfectly:
- Use room temperature ingredients: This helps the batter mix together smoothly.
- Don’t overmix the batter: Mix until just combined to avoid a dense cake.
- Cool the cake completely: Always allow the cake to cool before crumbling; this prevents sogginess.
- Check the consistency of the cake pop mixture: It should resemble cookie dough. If too dry, add a bit more frosting; if too wet, add more crumbled cake.
- Freeze the cake balls: This step is crucial for preventing them from falling off the stick when dipped in chocolate.
- Use a tall cup for dipping: This makes it easier to coat the cake pops evenly.
- Work in small batches: Remove only a few cake balls from the freezer at a time to keep them firm.
- Let the chocolate set at room temperature: This helps the coating to harden without cracking.
- Experiment with toppings: Get creative with different sprinkles, nuts, or even drizzled chocolate.
- Store properly: Keep your cake pops in an airtight container to maintain freshness.
Common Mistakes & Troubleshooting
Even seasoned bakers can run into issues. Here’s how to avoid common pitfalls:
- Cake pops falling off the stick: Ensure the cake balls are frozen solid before dipping and the stick is dipped in chocolate before insertion.
- Cracking chocolate coating: Allow your melted chocolate to cool slightly before dipping, and avoid over-melting.
- Uneven coating: Use a swirling motion when dipping to ensure even coverage and tap off excess chocolate gently.
- Too dry or crumbly cake balls: Adjust by adding more frosting until the mixture holds together.
- Too moist cake balls: If the mixture is too wet, add more crumbled cake to achieve the right consistency.
Variations on Chocolate Cake Pops
Once you master the basic chocolate cake pop, why not try some variations? Here are a few ideas:
- Red Velvet Cake Pops: Use red velvet cake instead of chocolate for a festive look.
- Funfetti Cake Pops: Add sprinkles to the cake batter for a fun surprise!
- Peanut Butter Chocolate Cake Pops: Mix in a bit of peanut butter into the frosting for a delicious twist.
- Mint Chocolate Cake Pops: Add a few drops of peppermint extract to the chocolate coating for a refreshing flavor.
Storage & Make-Ahead Instructions
Planning ahead? Here’s how to store your cake pops:
- Room Temperature: Store in an airtight container at room temperature for up to 3 days.
- Refrigerator: For longer freshness, keep in the fridge for up to a week. Make sure they’re sealed well to prevent drying.
- Freezer: Cake pops can be frozen for up to 3 months. Thaw them in the fridge before serving.
Comprehensive FAQ
Here are answers to some common questions about making chocolate cake pops:
- Can I use a cake mix instead of homemade cake? Yes, using a cake mix is a quick and easy alternative!
- How do I make sure my cake pops are moist? Ensure your cake is not overbaked and that you use enough frosting to bind the crumbs.
- What kind of chocolate should I use for coating? Semi-sweet chocolate works best, but you can use milk or dark chocolate if you prefer.
- Can I decorate them after they set? Yes! You can drizzle additional melted chocolate or sprinkle toppings after the initial coating hardens.
- Why do my cake pops sweat? This can happen when they come from the fridge or freezer. Let them come to room temperature slowly.
- How long will they last? Properly stored, they can last up to a week in the fridge and 3 months in the freezer.
- Can I use alternative flours? Yes, gluten-free flour can work, but the texture may vary.
- What’s the best way to package them for gifts? Place them in a box or use cellophane bags tied with ribbons for a lovely presentation.
Nutrition Tips & Dietary Adaptations
Here are some tips to make your cake pops a bit healthier:
- Use whole wheat flour: This adds fiber and nutrients.
- Replace sugars with natural sweeteners: Consider using honey or maple syrup for a healthier option.
- Opt for dark chocolate: Dark chocolate has less sugar and more antioxidants.
- Make it dairy-free: Use coconut milk and dairy-free chocolate to adapt for lactose intolerance.
Recommended Equipment
To make your cake pops, you’ll need a few tools:
- Mixing bowls: Essential for combining ingredients.
- Whisk: For mixing batter smoothly.
- Stand or hand mixer: To beat the frosting quickly and evenly.
- Cookie scoop: Helps to portion out uniform cake balls.
- Styrofoam block: Ideal for holding the cake pops upright while they set.
Serving Suggestions
When it’s time to serve your cake pops, consider these fun ideas:
- Display on a cake stand: Elevate your presentation and make them the centerpiece of your dessert table.
- Pair with drinks: Serve alongside coffee, tea, or milk for a delightful pairing.
- Gift them: Package them beautifully and share with friends and family for a sweet surprise!
In conclusion, making homemade chocolate cake pops is not just about baking; it’s about creating joyful moments and delicious memories. With this comprehensive guide, you now have all the tools and knowledge to create cake pops that are not only sweet but also filled with love. So gather your ingredients, get creative, and enjoy every bite of your delightful creations!
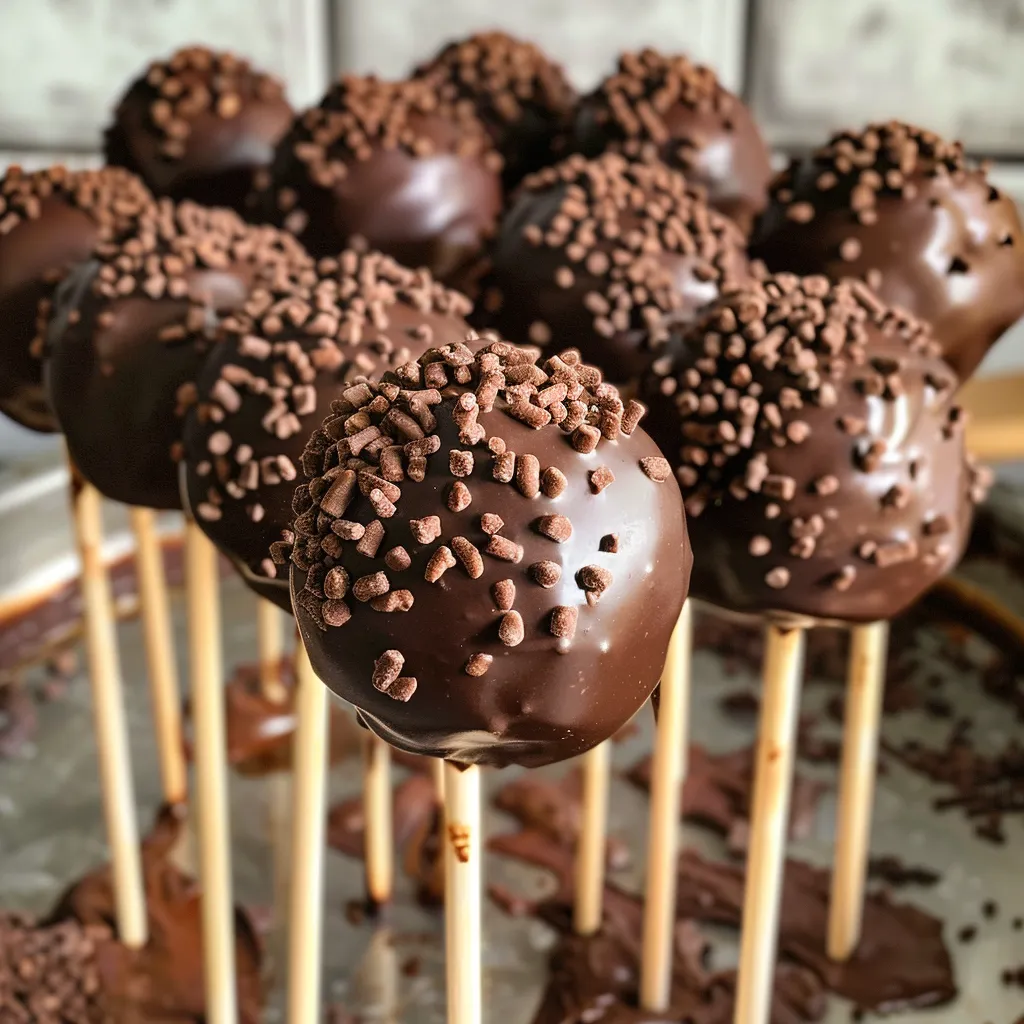
Homemade Chocolate Cake Pops
Ingredients
Cake ingredients
- 125 grams all-purpose flour (spooned leveled)
- 30 grams unsweetened natural cocoa powder (¼ cup plus 2 tablespoons)
- ¾ teaspoon baking powder
- ½ teaspoon baking soda
- ½ teaspoon salt
- 100 grams light brown sugar (½ cup packed)
- 100 grams granulated sugar (½ cup)
- 80 ml canola or vegetable oil
- 120 ml buttermilk
- 1 large egg
- 1 teaspoon pure vanilla extract
- 120 ml boiling water
- 1 teaspoon instant espresso powder (optional but recommended)
- 60 grams unsalted butter (softened, ½ stick)
- 90 grams powdered sugar
- 10 grams unsweetened cocoa powder (sifted)
- 15 ml milk (1 tablespoon)
- ¼ teaspoon pure vanilla extract
- 16 ounces semi-sweet chocolate (4 oz Ghirardelli bars)
- 14 grams refined coconut oil (1 tablespoon)
Optional decoration
Instructions
- Preheat oven to 350°F (180°C). Grease a 9-inch round pan, line with parchment, and set aside.
- Mix dry ingredients, then add wet ingredients and combine. Dissolve espresso powder in boiling water and add to batter. Pour into pan and bake 28-30 minutes.
- Cool cake in pan for 30 minutes, then transfer to wire rack to cool completely.
- Crumble cooled cake, mix with ½ cup frosting until cookie dough consistency. Form into 1-tablespoon balls, freeze 1 hour.
- Melt chocolate and coconut oil in microwave, cool slightly. Dip sticks into chocolate, insert into cake balls, then dip entire ball into chocolate. Add sprinkles if desired, set in styrofoam.
- Allow chocolate coating to set at room temperature for at least 30 minutes before serving.