
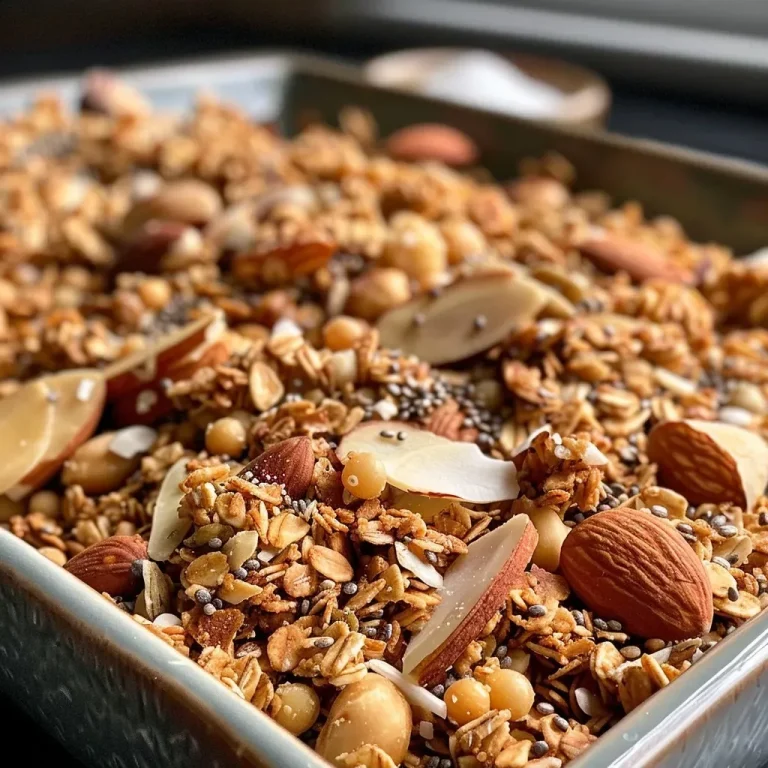
Why You’ll Love Making Your Own Salted Caramel Granola
Granola is not just a snack; it’s a versatile, delicious, and satisfying addition to your breakfast or midday munchies. This deliciously easy salted caramel granola is packed with wholesome ingredients and a hint of indulgence, making it the perfect choice for anyone looking to elevate their snacking game. Here’s why you’ll absolutely love this recipe:
- Simple Ingredients: Made with everyday pantry staples like rolled oats, nuts, and honey, this granola is easy to whip up at home.
- Perfect Balance of Sweet and Salty: The combination of sweet caramel and a touch of sea salt creates an irresistible flavor that keeps you coming back for more.
- Customizable: Feel free to mix in your favorite nuts, seeds, or dried fruits to make this granola your own.
- Great for Meal Prep: This granola lasts for weeks, making it a fantastic option for busy mornings or quick snacks.
- Nutritious and Satisfying: Packed with fiber and healthy fats, this granola helps keep you full and satisfied.
Gather Your Ingredients
To make this salted caramel granola, you’ll need:
- 3 cups rolled oats (180 g)
- ½ cup almonds (75 g, chopped)
- ¼ cup sesame seeds (30 g)
- ¼ cup pumpkin seeds (30 g)
- 1 cup medjool dates (175 g, chopped)
- ½ cup honey or store-bought caramel (120 mL)
- ¼ tsp sea salt
Substitutions: You can swap out the nuts or seeds based on your preferences or what you have on hand. For a vegan option, use maple syrup instead of honey.

★ Recommended Kitchen Tool
Glass Mason Jars for Oats
Make this recipe even easier with a quality Glass Mason Jars for Oats — a must-have kitchen staple!
How to Make Your Salted Caramel Granola
Let’s dive into the simple steps to create your own homemade granola.
- Prep: Preheat your oven to 325°F (160°C). This will ensure your granola bakes evenly.
- Mix: In a large bowl, combine all the ingredients. Make sure everything is well-coated with the honey or caramel.
- Form: Spread the mixture onto a parchment-lined baking sheet, ensuring it’s in an even layer.
- Bake: Bake for 20 to 30 minutes until toasted and crispy, stirring halfway through for even cooking.
- Cool: Allow it to cool completely before breaking it into bite-sized chunks. This is the secret to achieving those crunchy clusters!
Pro Tips for Perfect Granola
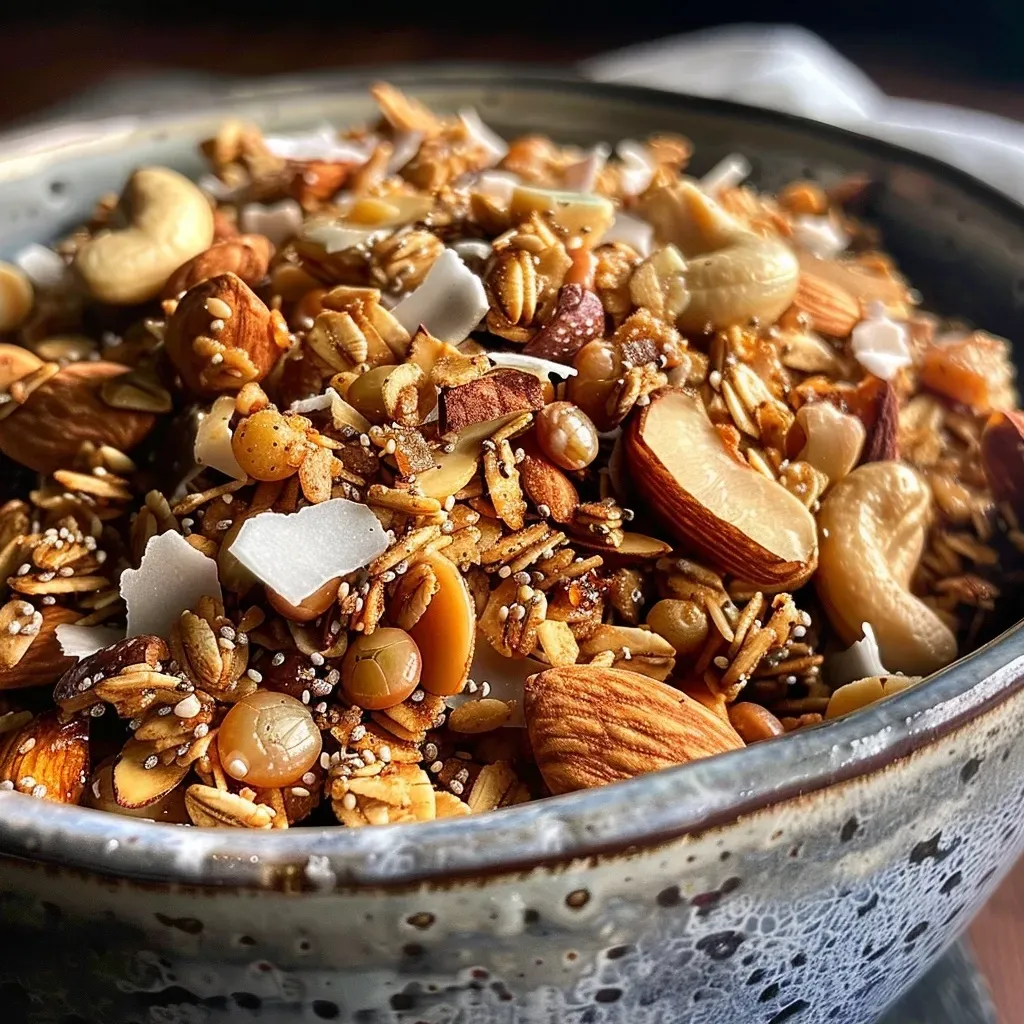
Here are some expert insights to ensure your granola turns out perfectly every time:
- Don’t Rush the Cooling: Letting your granola cool undisturbed is crucial for achieving crunchy clusters.
- Watch the Oven: Keep an eye on your granola while it bakes; ovens can vary, and you don’t want it to burn.
- Mix it Up: Feel free to incorporate different nuts or dried fruits to create your favorite flavor combinations.
- Store Properly: Keep your granola in an airtight container to maintain freshness for weeks.
- Don’t Skip the Sea Salt: A pinch of sea salt can elevate the sweetness of the caramel and create a delicious flavor contrast.
- Batch Size: Consider doubling the recipe for a larger batch; it’s perfect for sharing or meal prepping!
- Use Quality Ingredients: Opt for high-quality honey or caramel for the best flavor result.
- Experiment with Spices: Add cinnamon or nutmeg for a warm spice note that complements the caramel.
Common Mistakes and Troubleshooting
Even the best of us can make a few mistakes in the kitchen. Here are some common pitfalls to avoid:
- Stirring Too Much: Don’t stir the granola while it cools! This helps the caramel harden and form those satisfying clusters.
- Overbaking: If the granola is too dark when you take it out, it will taste burnt. Aim for a golden color.
- Not Using Parchment Paper: This makes cleanup easier and prevents sticking.
Variations to Try
Want to mix things up? Here are some delicious variations to consider:
- Chocolate Delight: Add cocoa powder or chocolate chips for a sweet twist.
- Fruit & Nut: Toss in some dried cranberries or apricots for a fruity addition.
- Spicy Kick: Incorporate a pinch of cayenne pepper for a sweet and spicy flavor combination.
- Nut-Free Option: Replace the nuts with additional seeds or coconut flakes for a nut-free granola.
Storage and Make-Ahead Instructions
This granola is perfect for meal prep! Here’s how to store it:
- Cool Completely: Always let your granola cool completely before storing to avoid moisture buildup.
- Airtight Container: Store in an airtight container at room temperature for up to 2 weeks.
- Freezing: You can freeze granola for up to 3 months. Just be sure to seal it tightly.
Frequently Asked Questions
Got questions? We’ve got answers! Here are some common queries about making salted caramel granola:
- Can I use different sweeteners? Absolutely! Maple syrup or agave syrup can be great alternatives.
- Is this granola vegan? It can be! Just use maple syrup instead of honey.
- What can I serve this granola with? Enjoy it with yogurt, milk, or as a topping for smoothie bowls!
- How do I make it gluten-free? Ensure you’re using certified gluten-free oats.
- Can I add protein? Yes! Consider adding protein powder or using nut butter in the mix.
- How do I prevent my granola from getting soggy? Make sure to cool it completely before storing.
- What’s the best way to eat granola? It’s versatile! Try it as a snack, in breakfast bowls, or as a topping for desserts.
- How long does homemade granola last? Properly stored, it can last up to 2 weeks at room temperature.
Nutrition Tips and Dietary Adaptations
This granola is not only delicious but can also be tailored to fit various dietary needs:
- Low-Calorie Option: Reduce the amount of honey or caramel used to cut down on calories.
- Protein Boost: Add protein-packed seeds like chia or hemp seeds for an extra nutritional punch.
- High-Fiber Variation: Use more seeds or add bran to increase the fiber content.
Essential Equipment for Making Granola
To ensure your granola turns out perfectly, here’s a quick list of equipment you’ll need:
- Baking Sheet: A large, rimmed baking sheet for even baking.
- Parchment Paper: This prevents sticking and makes cleanup a breeze.
- Mixing Bowl: A large bowl to combine all your ingredients.
- Spatula: For spreading the granola evenly on the baking sheet.
Serving Suggestions
Your homemade granola can be enjoyed in numerous delightful ways:
- Breakfast Bowl: Top your yogurt or smoothie with a generous handful of granola.
- Snack Time: Enjoy it by the handful for a healthy snack.
- With Milk: Serve with your favorite milk for a crunchy cereal experience.
- As a Dessert Topping: Sprinkle over ice cream or fruit salads for added crunch.
Final Thoughts
Making your own salted caramel granola at home is not only rewarding but also incredibly delicious. With just a few simple ingredients, you can whip up a batch that will make your breakfasts brighter and your snacks more satisfying. So why wait? Dive into this recipe and enjoy the delightful crunch and sweet flavor of homemade granola. Remember, cooking should be fun and stress-free, so embrace the process and enjoy every bite!
How To Make Salted Caramel Granola
Ingredients
Dried ingredients
- 3 cups rolled oats
- 0.5 cups almonds (chopped)
- 0.25 cups sesame seeds
- 0.25 cups pumpkin seeds
- 1 cups medjool dates (chopped)
- 0.5 cups honey or store-bought caramel
- 0.25 tsp sea salt
Instructions
- Preheat oven to 325°F (160°C). Combine all ingredients in a large bowl.
- Spread mixture onto a parchment-lined baking sheet.
- Bake for 20-30 minutes until toasted and crispy. Cool before breaking into chunks.